Document scanning
Document scanning allows a user to scan documents to a Case or Person record.
| The scanning app requires Java 8 to be installed. |
Application
To start a scan:
-
Click the
File Cabinetdropdown, then selectAdd Case File(s).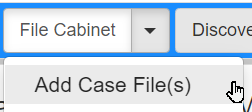
-
Fill out the required form fields.
-
Click Save and Scan.
If your browser supports launching Java apps, a message dialog opens:

If your browser does not support launching Java apps, a message dialog opens:

-
If an app does not launch, click one of the links in the message dialog.
-
Launch the downloaded Java app.
When the Java app is launched, the scan window opens.
| If you have a document already on a feeding scanner, the scanning app may start to scan the document the moment the app opens. |
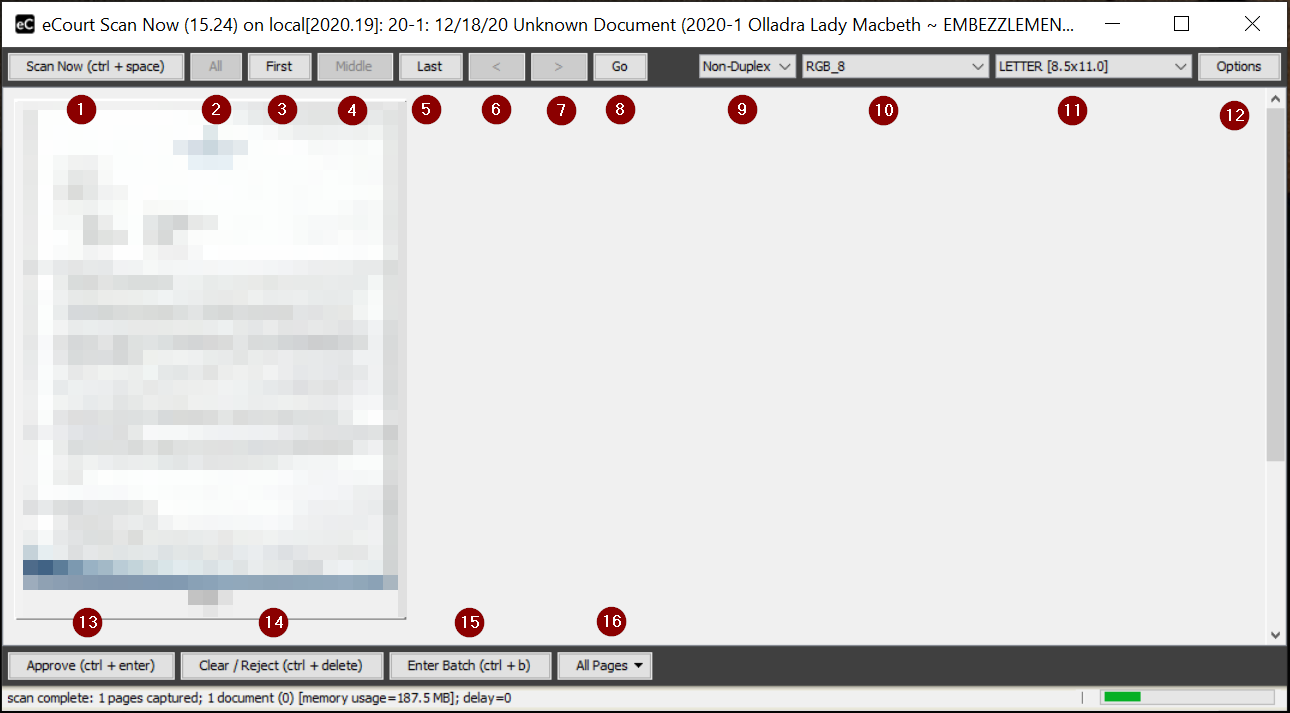
Scanning controls
-
Scan Now: Scan the current document to the screen for review.
-
All: All scanned pages.
-
First: Go to the first scanned page.
-
Middle: Go to the middle of the scanned document.
-
Last: Go to the last scanned page.
-
<: Go back one page. -
>: Go forward one page. -
Go: Go to the desired page of document. Enter number using dialog.
-
Tray Type: Select the type,DuplexorNon Duplex. -
Color Settings: Select the scan color settings. -
Size: Choose the paper size. -
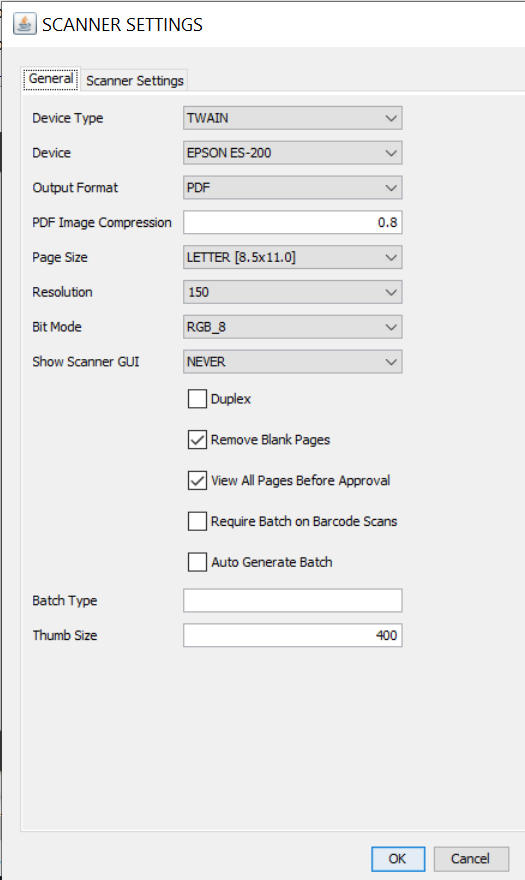
Options: Show advanced scanner options.
-
Approve: Send the scanned document to the
Filing Cabinet. -
Clear / Reject: Remove the current scan from the window and start fresh.
-
Enter Batch: Open the
Batchwindow to group multiple scanned documents from this session together.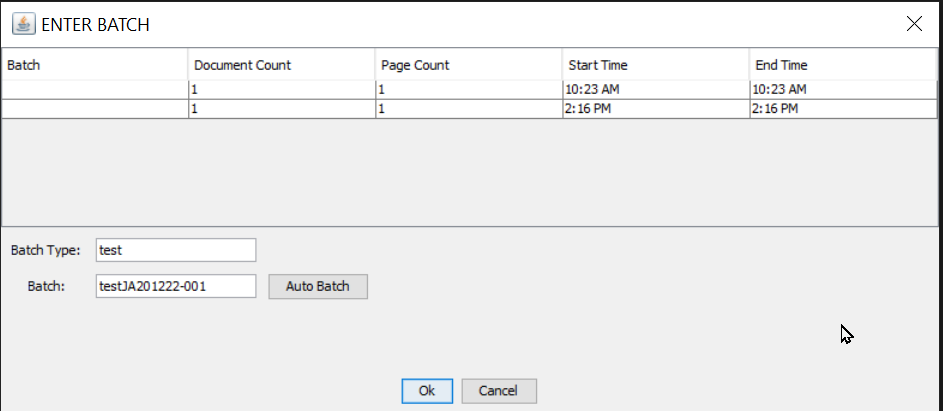
-
Page Rotation: Select option to rotate document pages.