Investigation request workflow
Unassigned investigation requests
-
When an investigation request (
caseResearchRecord) is added to the case, the status is set toPendingand a work queue assignment calledUnassigned Investigation Requestsis created. Anyone with theInvestigator Supervisor Workflow Rolehas the assignment in their queue.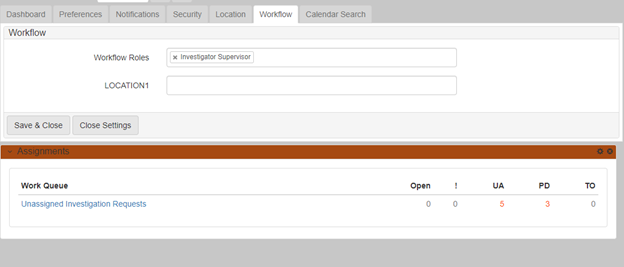
-
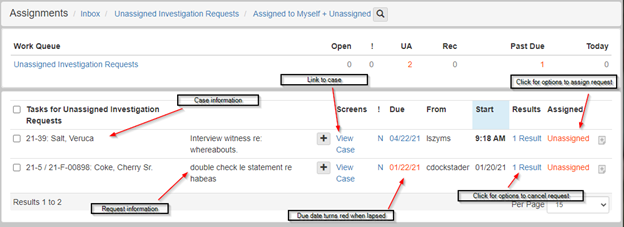
Click the work queue to view the list of unassigned investigation requests:
-
Assign the investigation request by clicking the red
Unassignedunder theAssignedcolumn: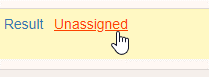
-
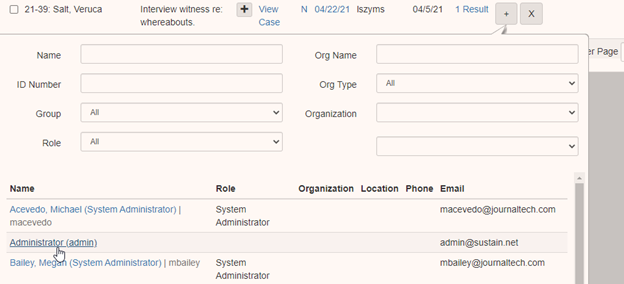
Click
+to navigate to a directory search where you can select the request assignee: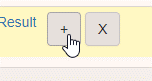
-
The chosen assignee is listed in red under the
Assignedcolumn. The action of assigning the request closes out the workflow. This work queue drops off the queue on screen refresh: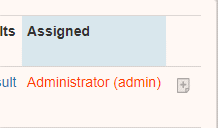
-
Cancel the investigation request by clicking the results and selecting
Cancelin the dropdown: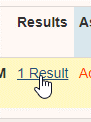
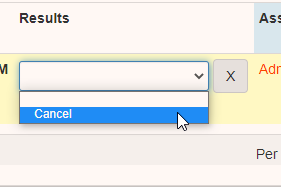
This action also closes out the workflow, and the work queue drops off the queue on refresh.
The workflow is also closed out when the status is manually changed to
CompletedorCanceledinside theUpdate Investigation Requestform.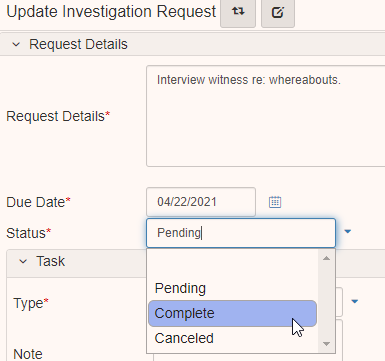
Assigned investigation requests
-
Once an assignee is set on an investigation request, a work queue called
Investigation Requestsis assigned to the request assignee: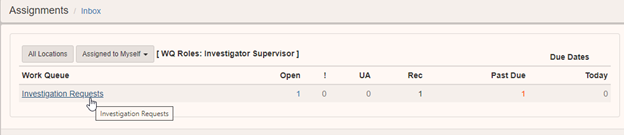
-
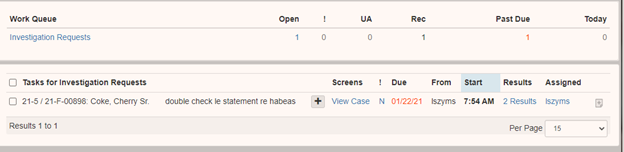
Click the work queue to show the list of unassigned investigation requests:
-
When the request is complete, click the results and select
Completein the dropdown: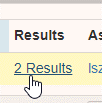
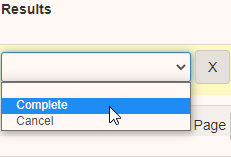
This changes the status of the request to completed and closes out the workflow. The work queue drops off the queue on refresh.
-
You can reassign the request by clicking your username in the
Assignedcolumn.
-
Click
+to navigate to aDirectory Searchwhere you can select the new request assignee:
-
You can cancel the investigation request by clicking in the results:
Then select
Cancelin the dropdown.
This action also closes out the workflow, and the work queue drops off the queue on refresh.
The workflow is also closed out then the status is manually changed to
CompletedorCanceledinside theUpdate Investigation Requestform: