Charging
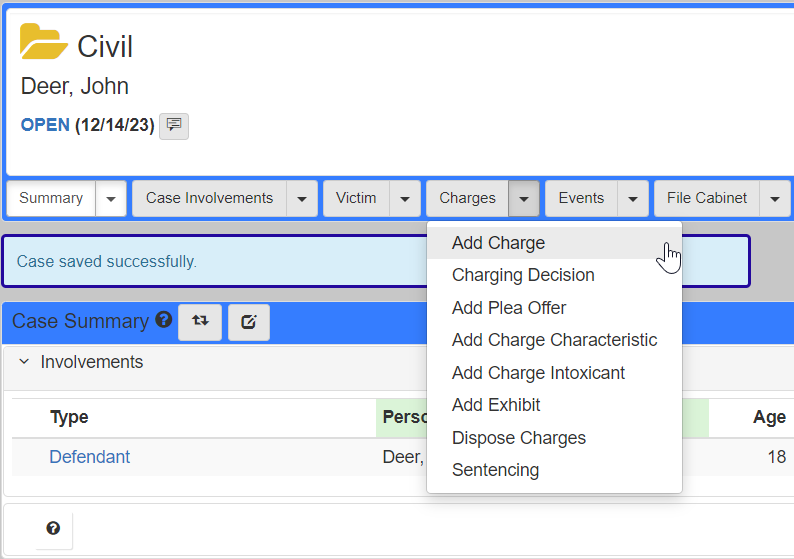
Add a charge
-
In the
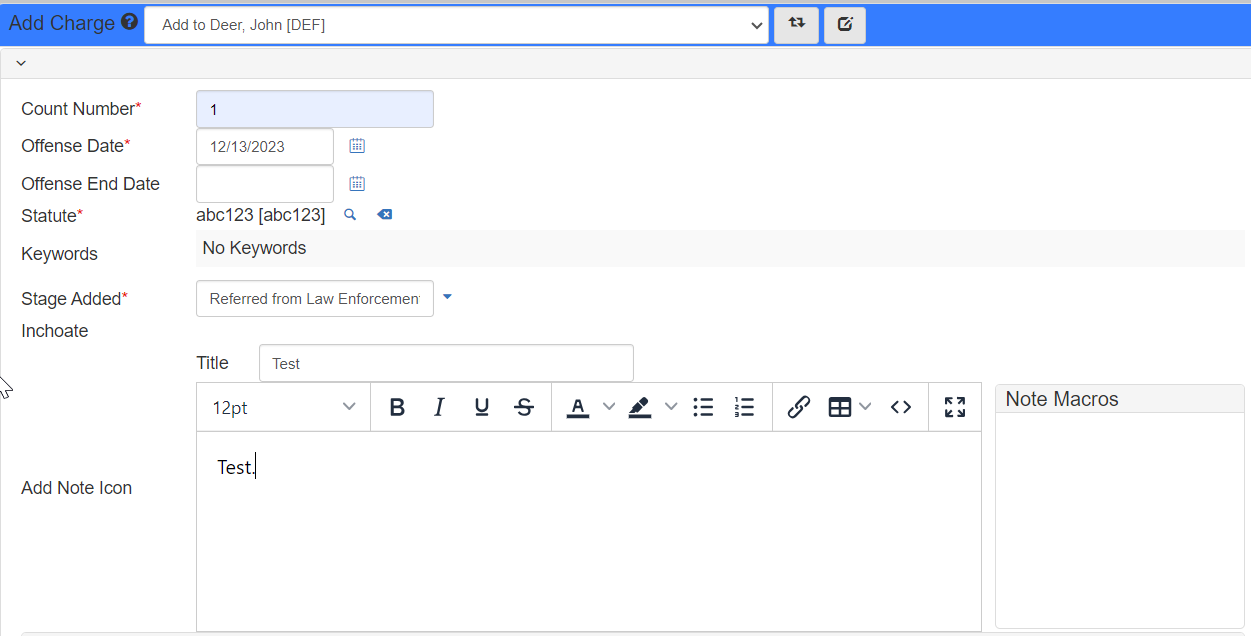
Chargesdropdown, clickAdd Charge. -
Add a information about the charge.
-
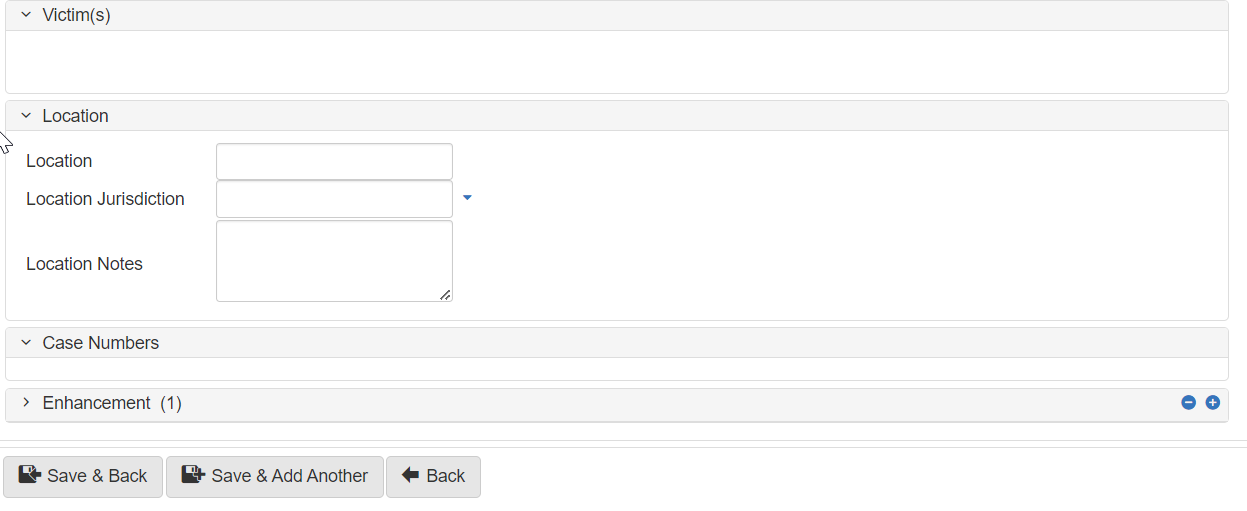
Add victims, location information, or other case numbers.
-
Click Save, Save and Back, or Back.
Race-blind charging
The Race-blind Charging process ensures prosecutors make decisions without conscious or unconscious racial bias.
When activated, the Race-blind Charging process involves several steps:
Case creation
Users who are not in protected security groups should create Cases.
These users create and update Cases with all available information.
Other users can only interact with the redacted view.
The system adds Cases to the redaction queue at creation.
Redaction
After Case creation, participants in the Race Blind Cases Received queue review the case and redact documents:
-
Navigate to the
Dashboard. -
Click the
Race Blind Case Receivedqueue to show cases waiting for review and redaction. -
Click the
View Caselink next to the case to open. -
Select the
File Cabinettab to showCasedocuments. -
Right-click a document and select
DocViewto open the document for redaction.For the best experience:
-
Create a copy of the document to be redacted. This prevents accidental alteration, and ensures the original document is available after the initial charging decision.
-
Convert documents to PDF before redacting. Click Convert to PDF in the
Actions.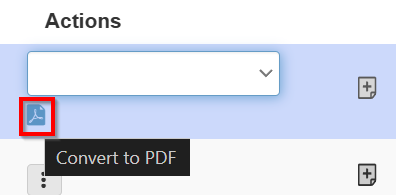
-
-
In the
DocView, click Redact at the right. The redaction options include manual redaction using black or white boxes, orSearch & Redactto find and redact information in the document.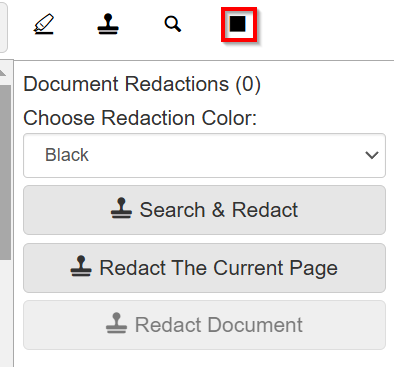
Approve redacted documents
Once redaction is complete, approve documents for Race-blind Charging:
-
In the
Charges > Race Blind Charging, selectDocument Approvalto open theApprove Documents for Race-blind Chargingscreen. -
Select documents to approve using the checkboxes next to each document.
-
Click RBC Ready to add the
Caseto theRace Blind Charging Reviewqueue.
Initial charging review
Once you approve documents, the system adds the Case to the Race Blind Charging Review queue.
Participants in this queue can view the case in a redacted view showing only designated involvements and approved documents.
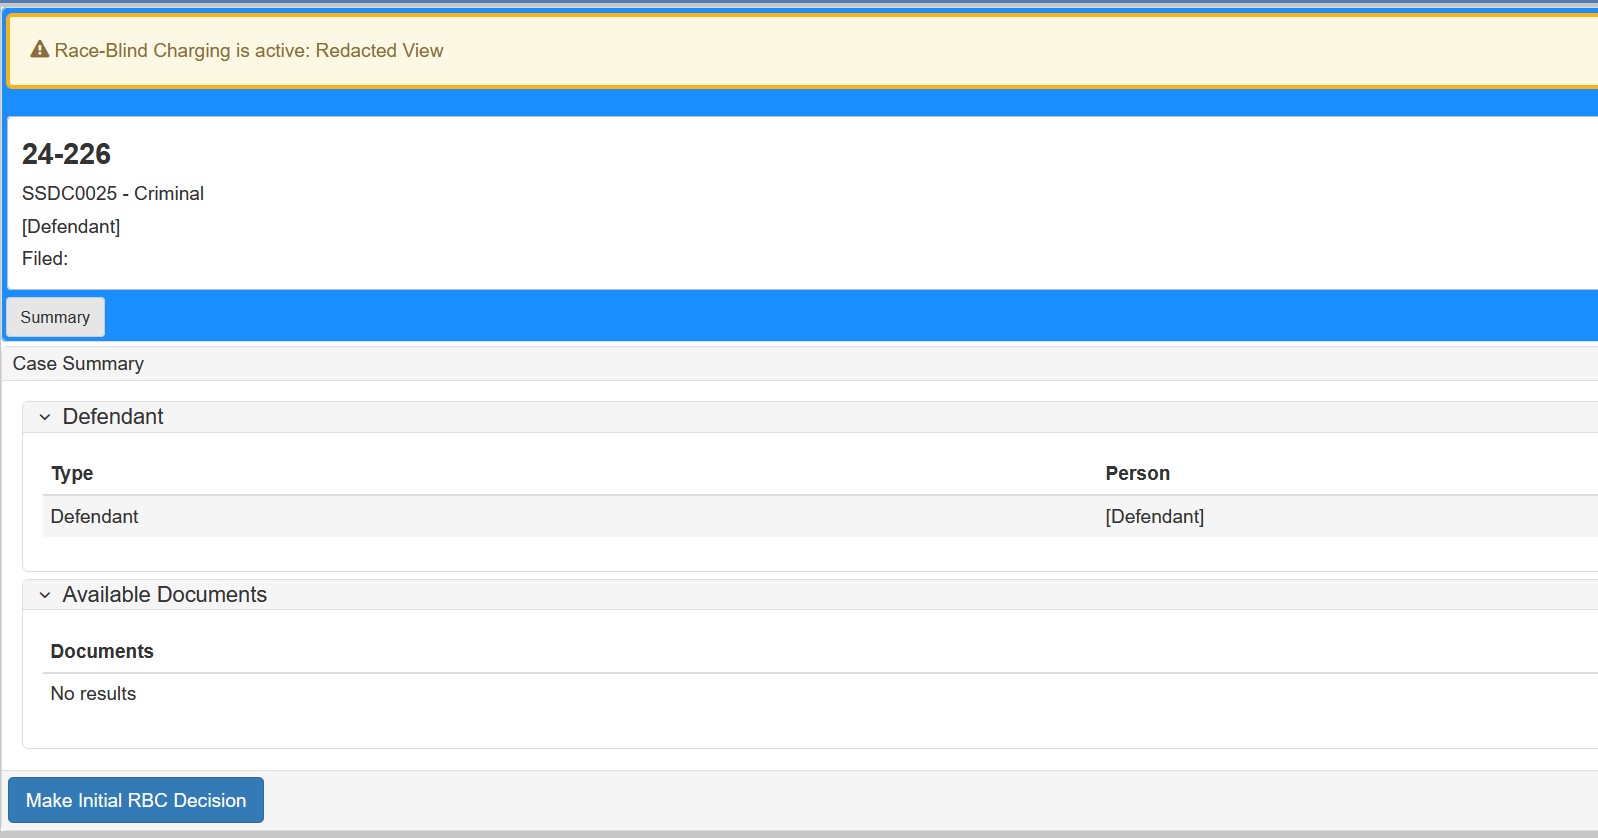
This redacted view shows when a protected user tries to view a non-exempt case without first completing the initial Race-blind Charging review. This can happen when a protected user wants to update an event on a case, update a document, or case information.
After reviewing the case, participants make an initial charging decision using the following steps:
-
Click Make Initial RBC Decision in the redacted view.
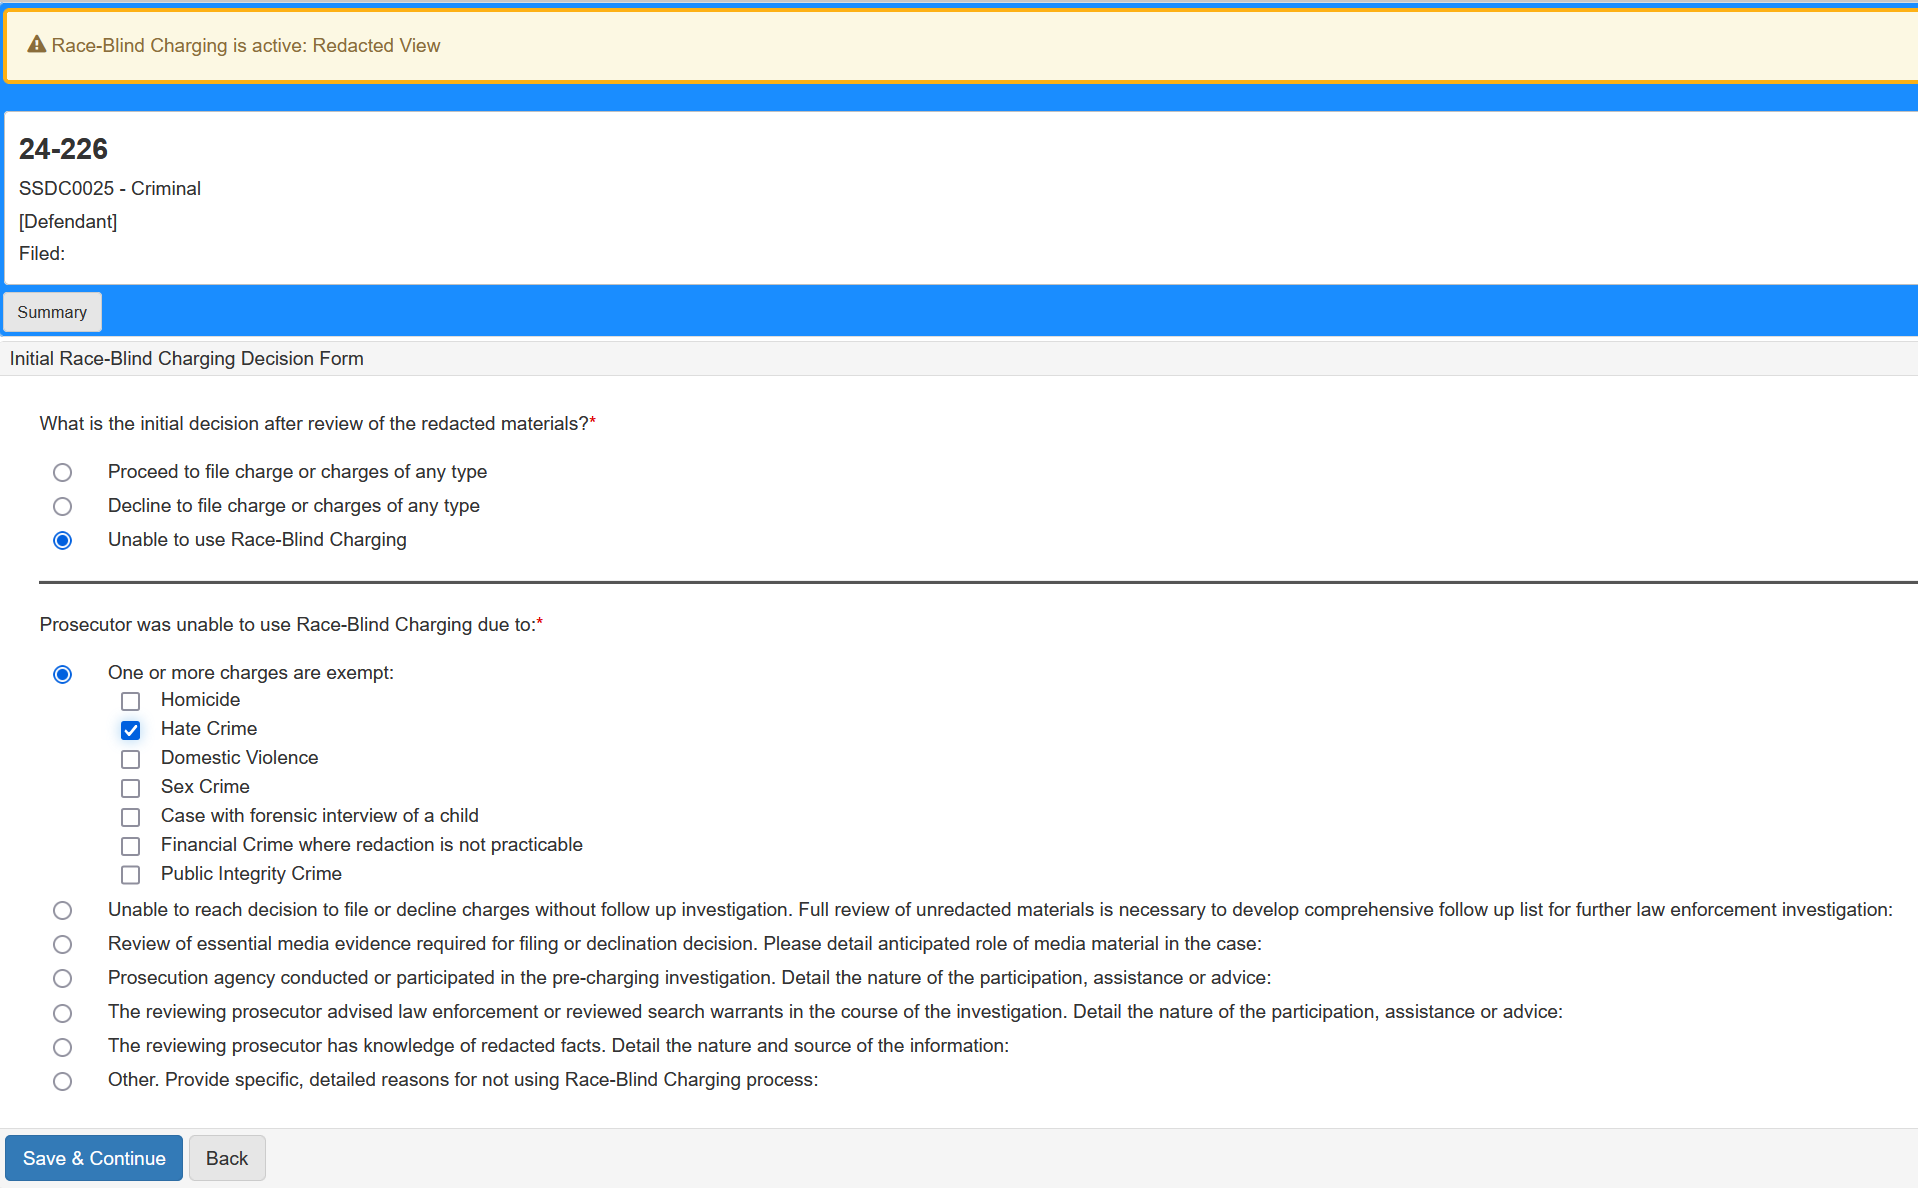
-
Answer a short questionnaire to make the initial charging decision.
If an initial charging decision cannot be made, the system asks for more information:
After the initial charging decision, the unredacted view of the Case shows.
Unredacted Case information shows in other locations such as gadgets on the Dashboard or custom searches.
Final charging decision
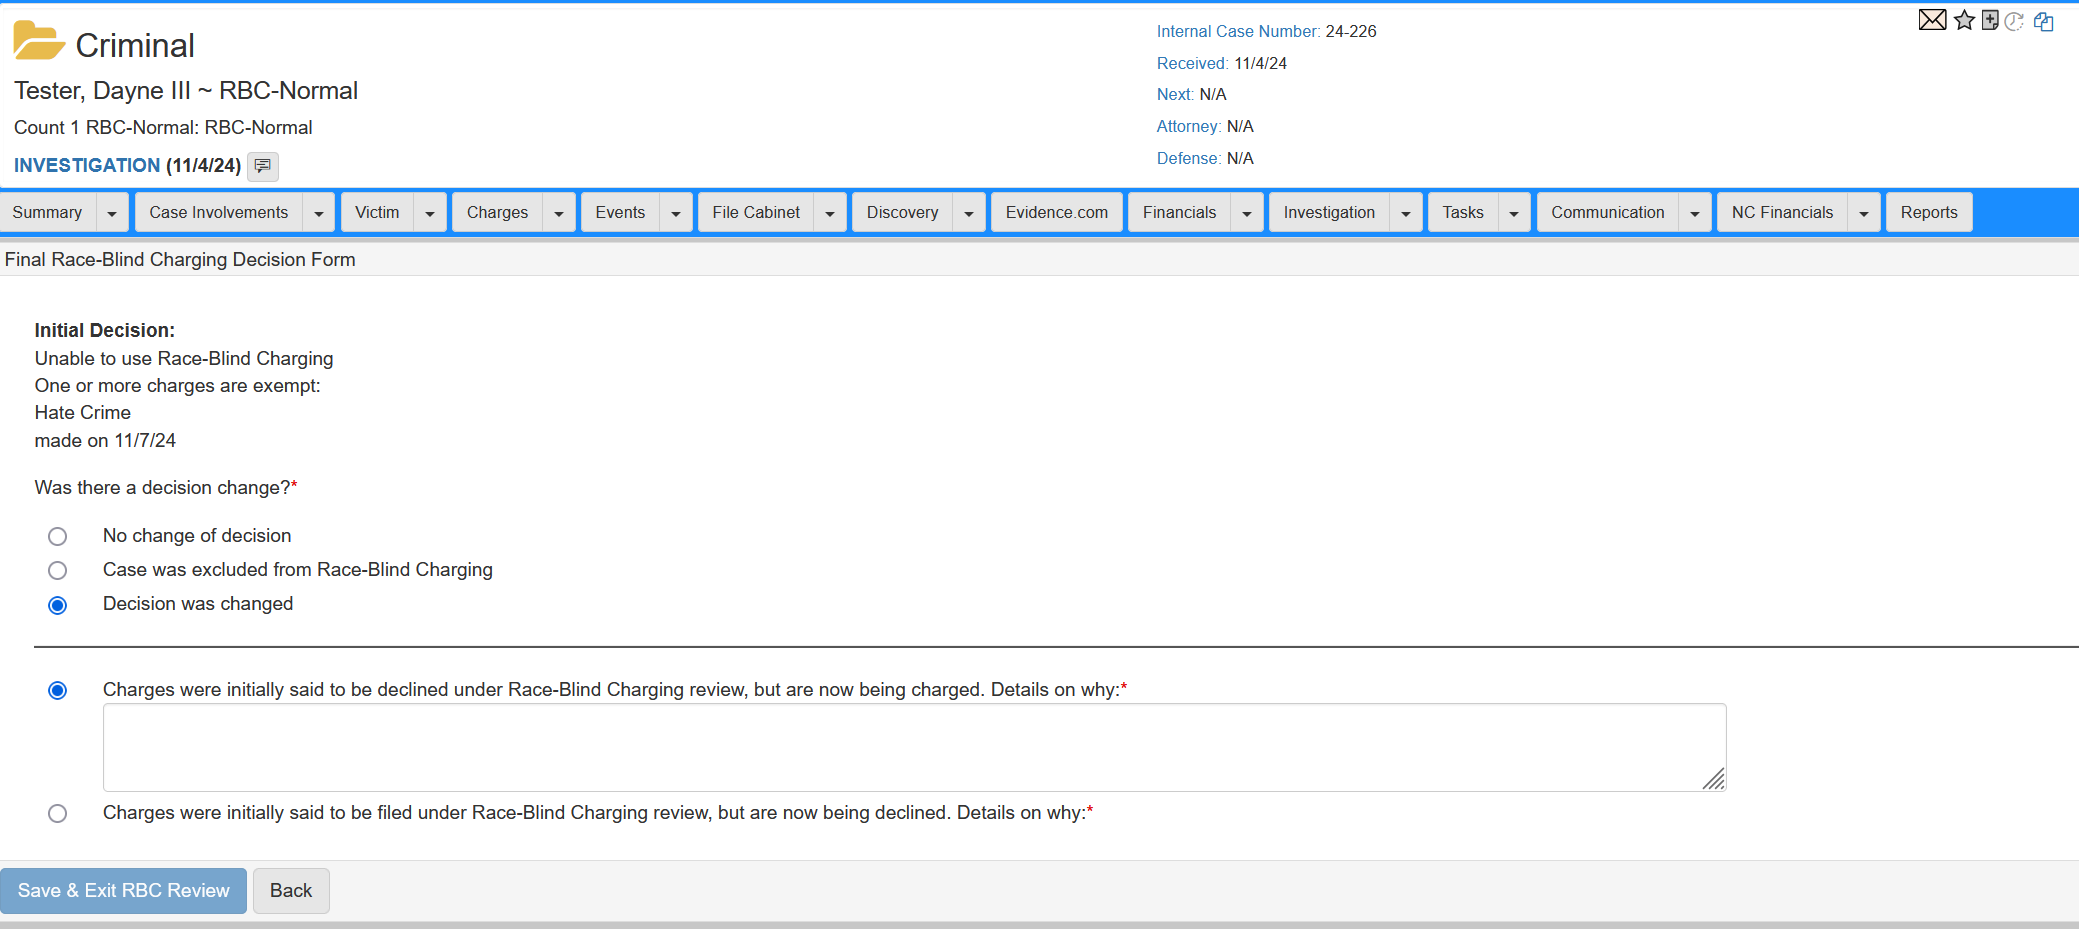
After the initial charging decision, the reviewer has access to the full, unredacted case. They review the unredacted documents, narratives, notes, charges, and other information to make the final charging decision. The original protected user is then responsible for making the final charging decision:
-
In the
Charges > Race Blind Chargingdropdown, selectFinal Reviewto open theFinal Race-Blind Charging Formscreen.A summary of the initial review shows along with a few questions for the protected user to answer. If protected used changes the charging decision, the system prompts them to explain the change.
The final charging decision must be made by the same user who made the initial charging decision. If the user who made the initial charging decision is not available, the system reassigns the
Caseto another user to make a new initial charging decision.Resetting the initial review can be done by an unprotected user:
-
Open the affected
Case. -
In the
Charges > Race Blind Chargingdropdown, selectReset Initial Reviewto open theReset Initial Race-Blind chargesscreen. -
Click Reset Initial Review.
The case is now ready for a new protected user to make the initial charging decision.
-
Configure queues using the assignment widget
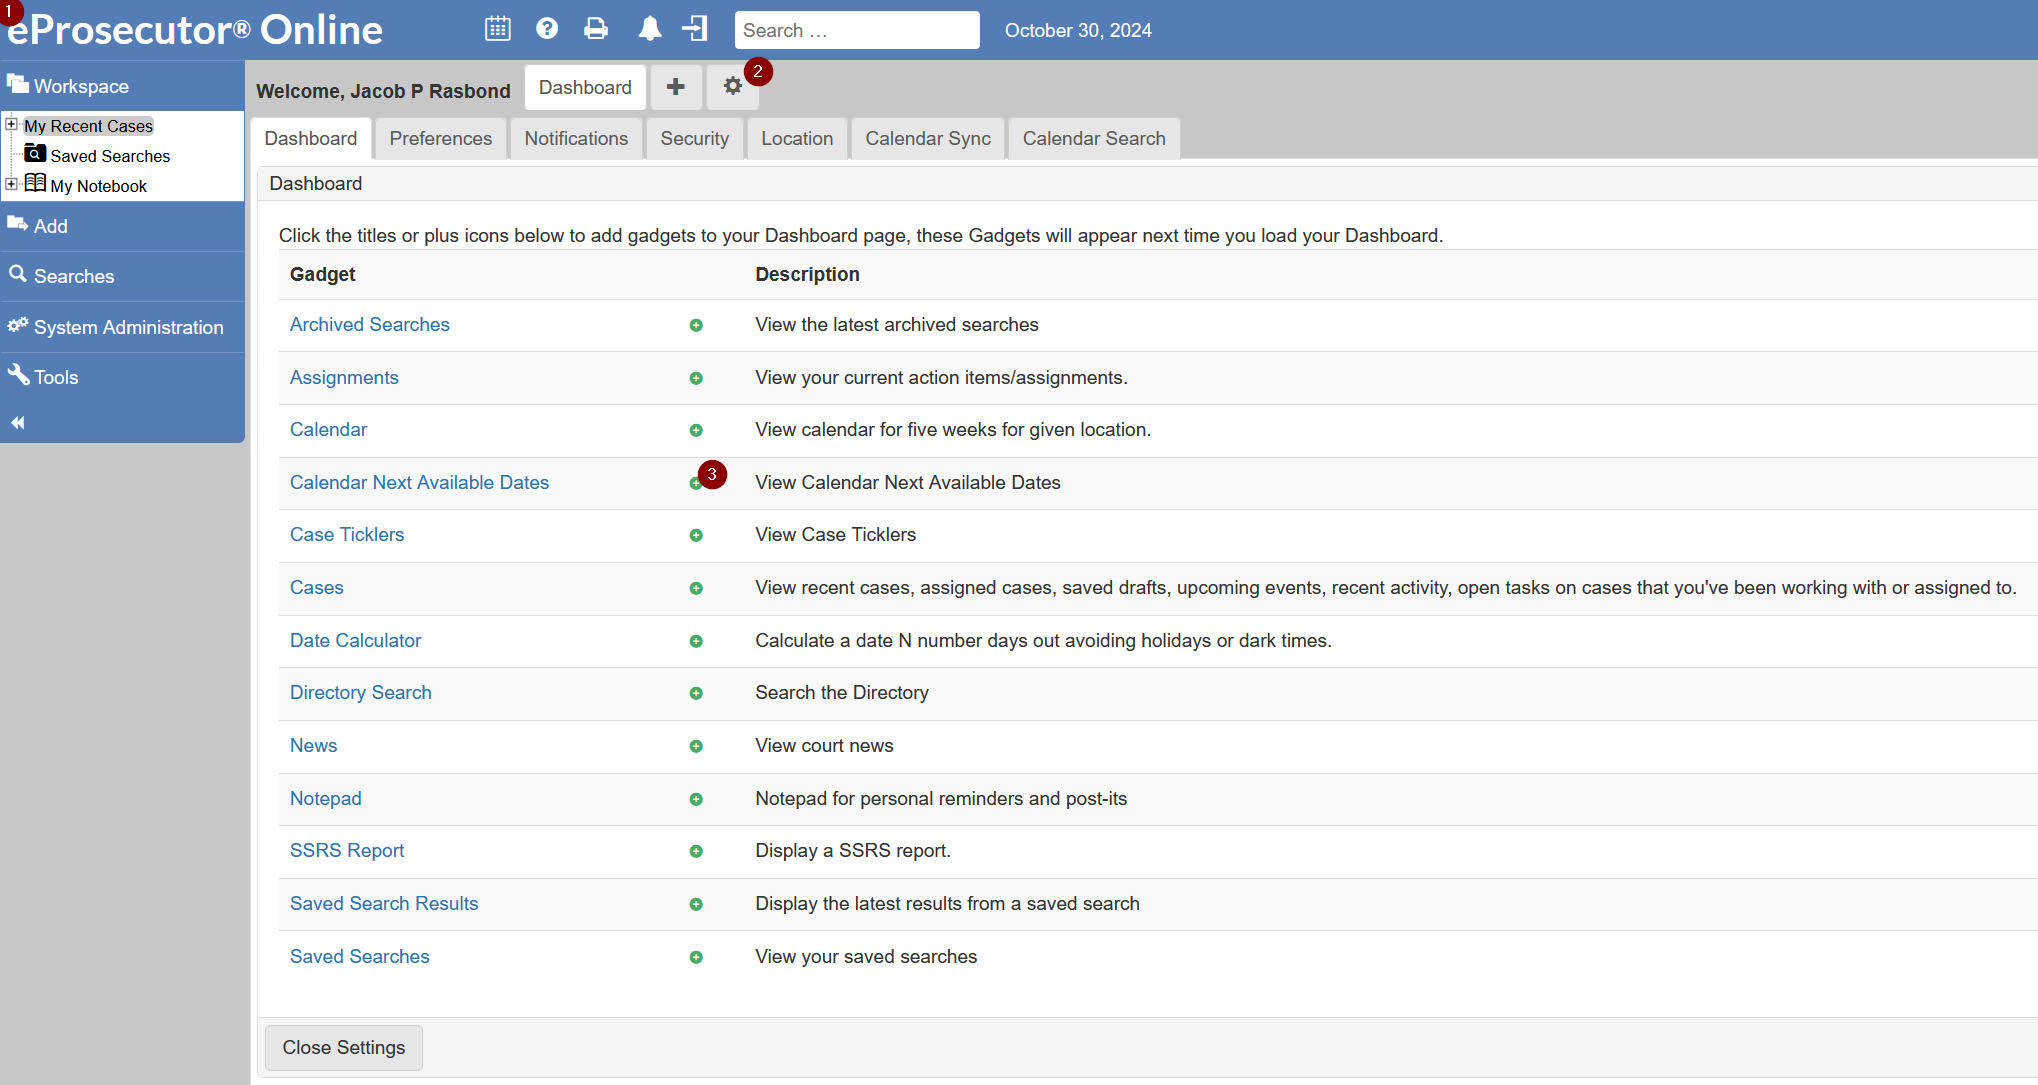
Before a user can access their queue, they must add the Assignments widget to their Dashboard:
-
Navigate to the
Dashboard. -
Click Edit user settings.
-
Click + next to Assignments.
-
Click Close Settings button.
Refer to Race-blind charging for more information on setting up Race-blind Charging and assigning users to queues.
Generate charging language
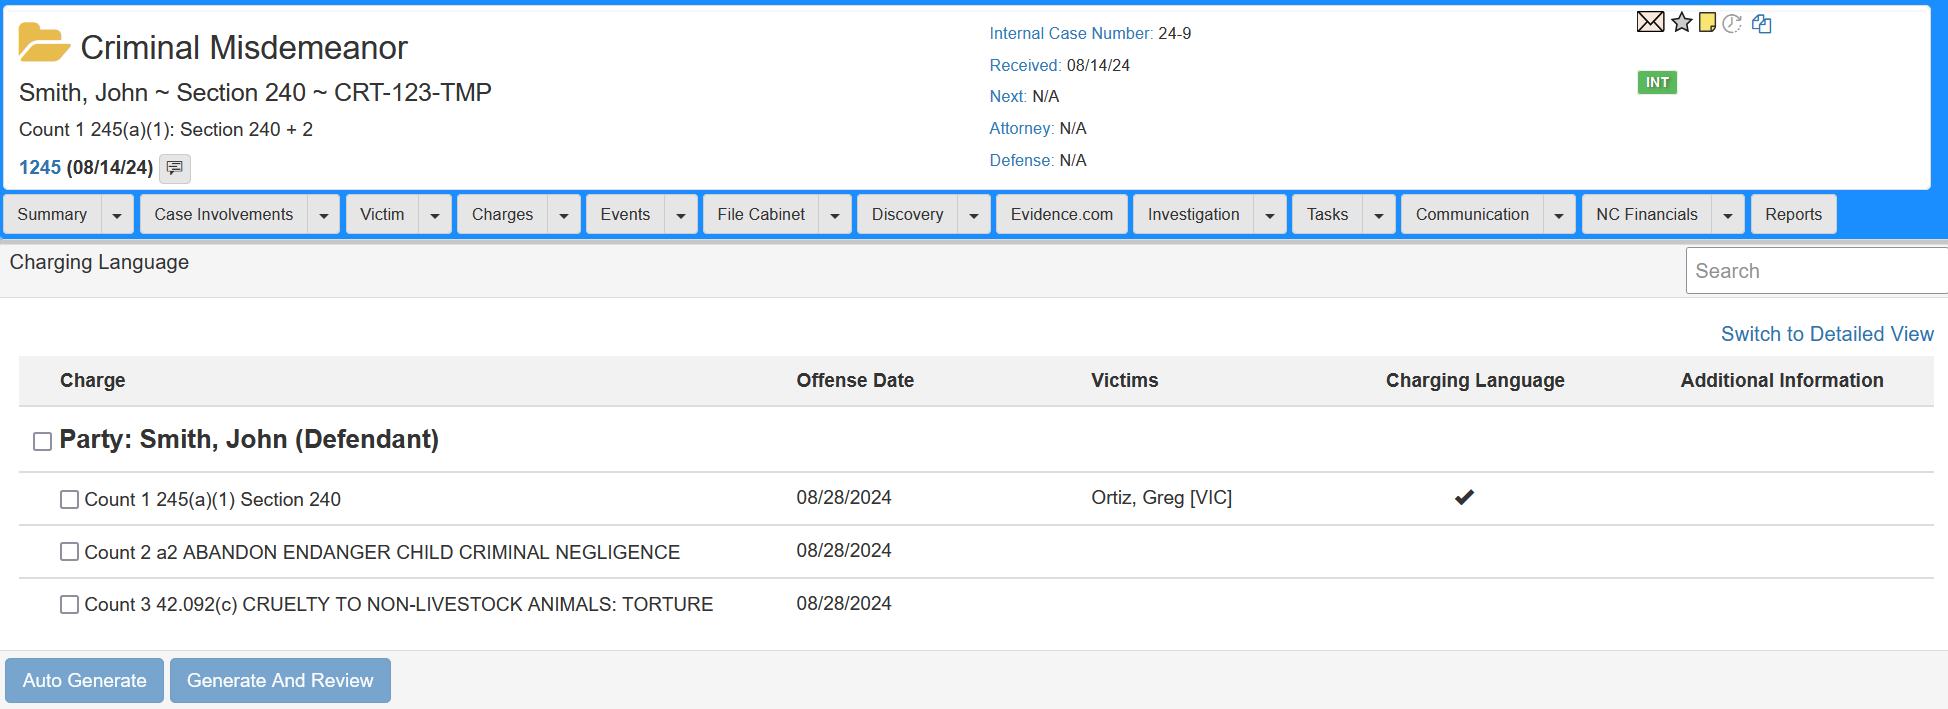
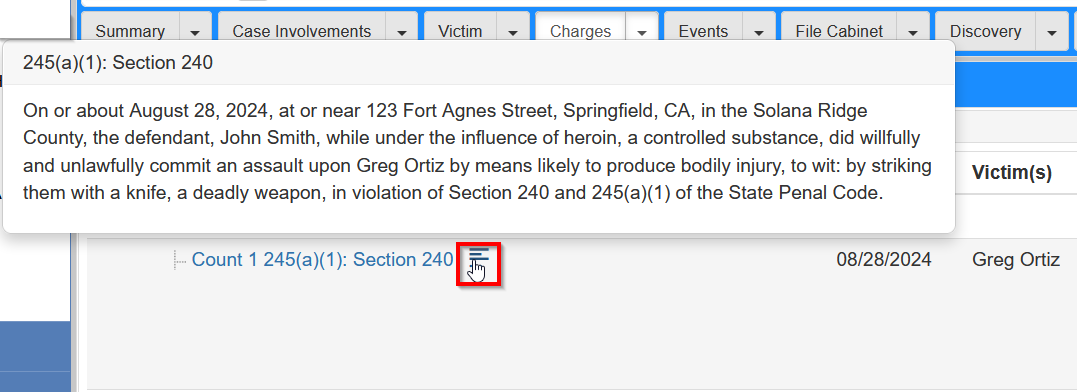
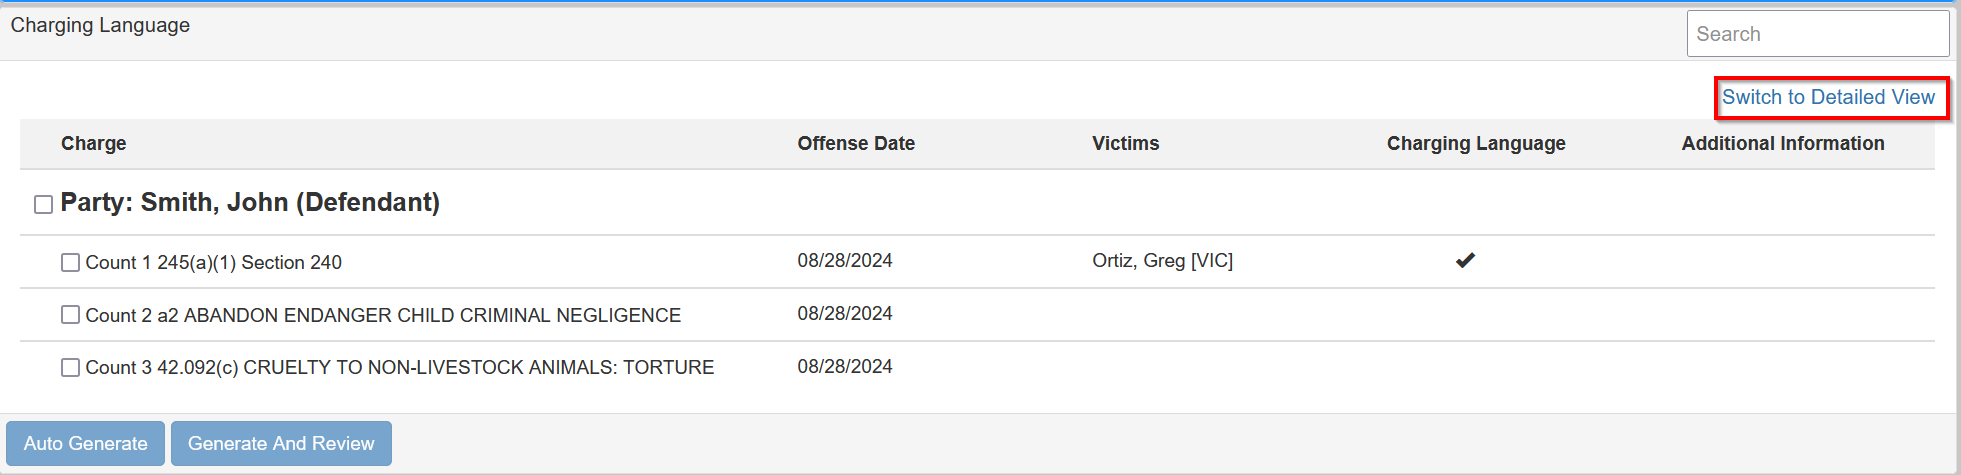
Review charging language
Show charging language history
You can generate and change charging language as many times as desired.
To show the history of charging language changes:
-
In the
Chargesdropdown, selectCharging language historyin theCharginggroup.
The Charging language history screen shows changes to charging language for each count on the case, with the most recent language at the top.
| Prior versions of eProsecutor Online used a separate Statute Text feature to manage charging language. eProsecutor Online deprecated this feature in the November 2024 release in favor of the new Charging Language feature. |
Charging decision
-
Click Charging Decision in the
Chargestab. -
Select a decision for each charge, select reasons if declining to file, and/or make bulk decisions for all changes.
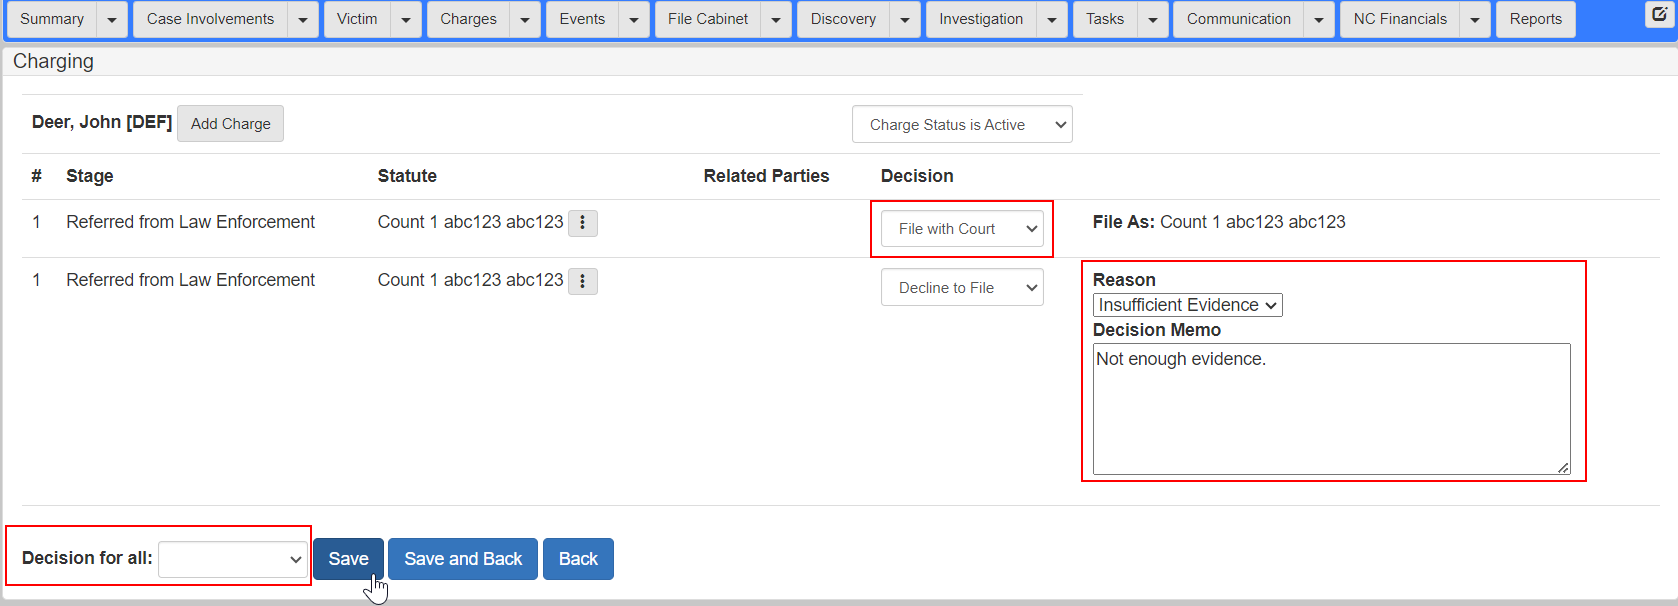
-
Click Save, Save and Back, or Back.
|
When using the By default, the only reason available is Find the lookup list by:
|
Add plea offer
-
Click Add Plea Offer in the
Chargestab. -
Select plea deal type, status, and add other information.
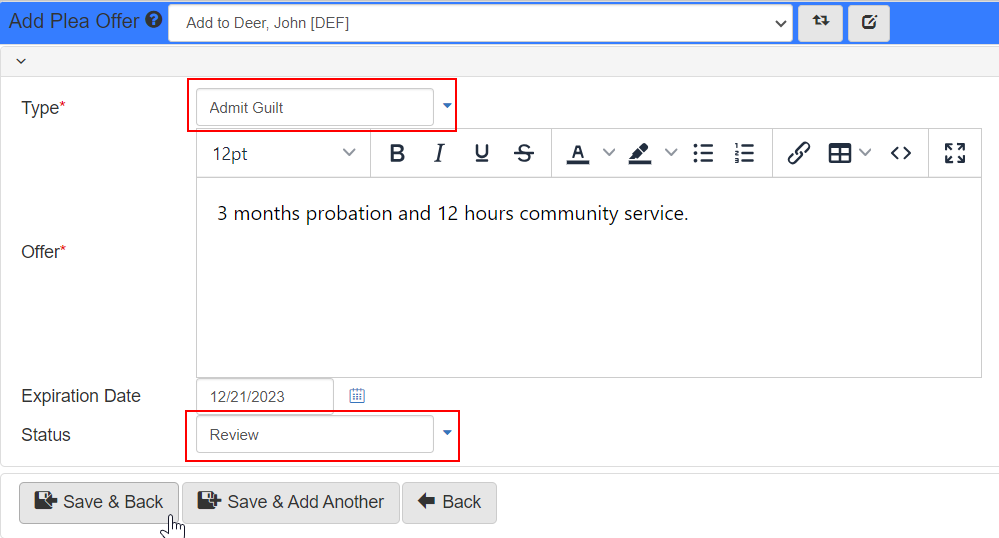
-
Click Save, Save and Back, or Back.
Add charge characteristic
-
Click Add Charge Characteristic in the
Chargestab.One or more charges are required first before adding charge characteristics. -
Add a characteristic, type, and a value.
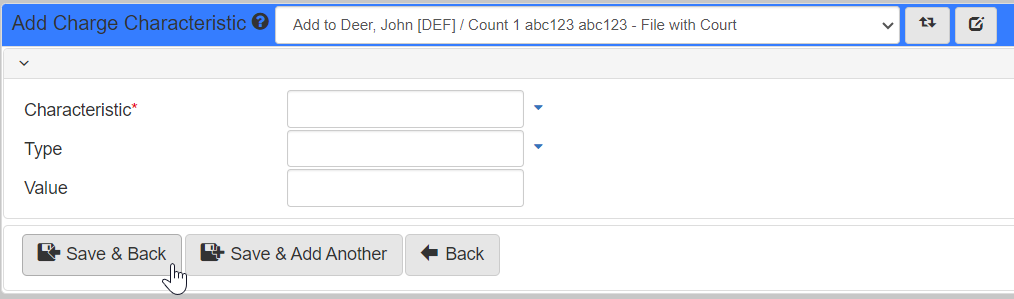
-
Click Save, Save and Back, or Back.
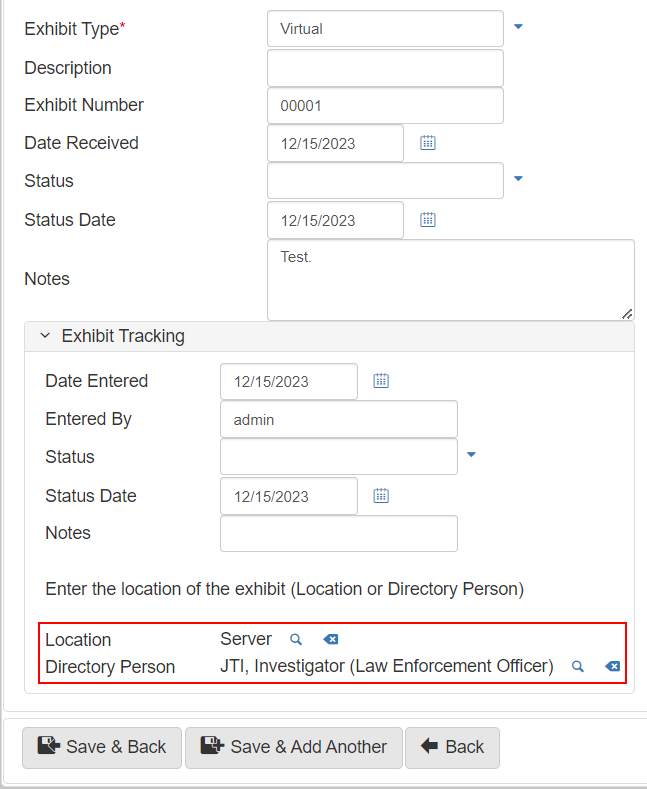
Add charge intoxicant
-
Click Add Charge Intoxicant in the
Chargestab.One or more charges are required first before adding charge intoxicants. -
Add an intoxicant, level, and a notes.
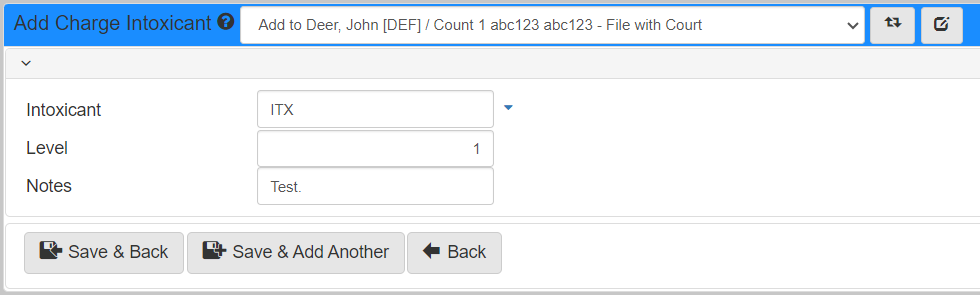
-
Click Save, Save and Back, or Back.