Dashboard
The Dashboard provides a configurable starting screen for each user.
The screen is created by adding one or more Gadgets from the Dashboard Settings, and then configuring associated settings in the Dashboard.
After configuring the Dashboard, you can access it by clicking the eProsecutor Online logo at the top-left of the screen.
Dashboard settings
Dashboard settings are accessed one of two different ways:
-
If the
Dashboardis not yet configured, theDashboard Settingsscreen opens as soon as a user first accesses theDashboard. -
Once configured, to access the
Dashboard Settings:-
Click the eProsecutor Online logo at the top left.
-
At the top of the
Dashboard, find the Dashboard button, and click the gear icon beside it to showUser Settings:
-
On the User Settings screen for the Dashboard, a user can add or remove gadgets from their dashboard:
| Gadget | Description |
|---|---|
Show the latest archived searches |
|
Show your current action items/assignments. |
|
Show calendar for five weeks for given location. |
|
Show recent, assigned, upcoming events, recent activity, or open tasks on cases that you are working with or are assigned to you. |
|
Calculate a date N days out avoiding holidays or dark times. |
|
Search the directory. |
|
Show court news. |
|
Notepad for personal reminders and post-its. |
|
Show the latest results from a saved search. |
|
Show your saved searches. |
Multiple tabs
An Dashboard may be configured to use an arbitrary number of gadgets, including multiple copies of the same gadget with different configurations.
Despite this, users may find it more convenient to add more tabs to the Dashboard, creating different screens for different types of information or tasks.
To add more tabs:
-
Navigate to the existing dashboards by clicking the eProsecutor Online logo at the top-left of the screen.
-
Click the
Add New Tabicon, represented as a+, next to theUser Settingsgear icon.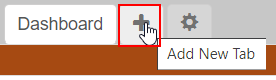
-
After clicking the
Add New Tabicon, a popup prompts you for the newPage Name: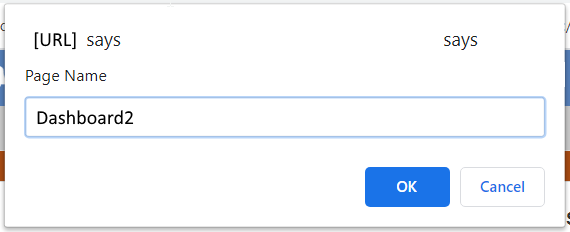
-
Fill in the prompt with the name of the new
Dashboard, then click OK. -
The new tab behaves exactly like the first
Dashboard, but they can have separately configured gadgets.