Running the conversion
Overview
Once the data is prepared and moved into the provided Excel template, the data conversion process can start. This guide shows you how to run the Self Service Data Conversion tool and explains the screens and options available to you.
Procedure
-
On launch, the Self Service Data Conversion tool prompts you to start a new conversion or continue a conversion from a previously saved state:
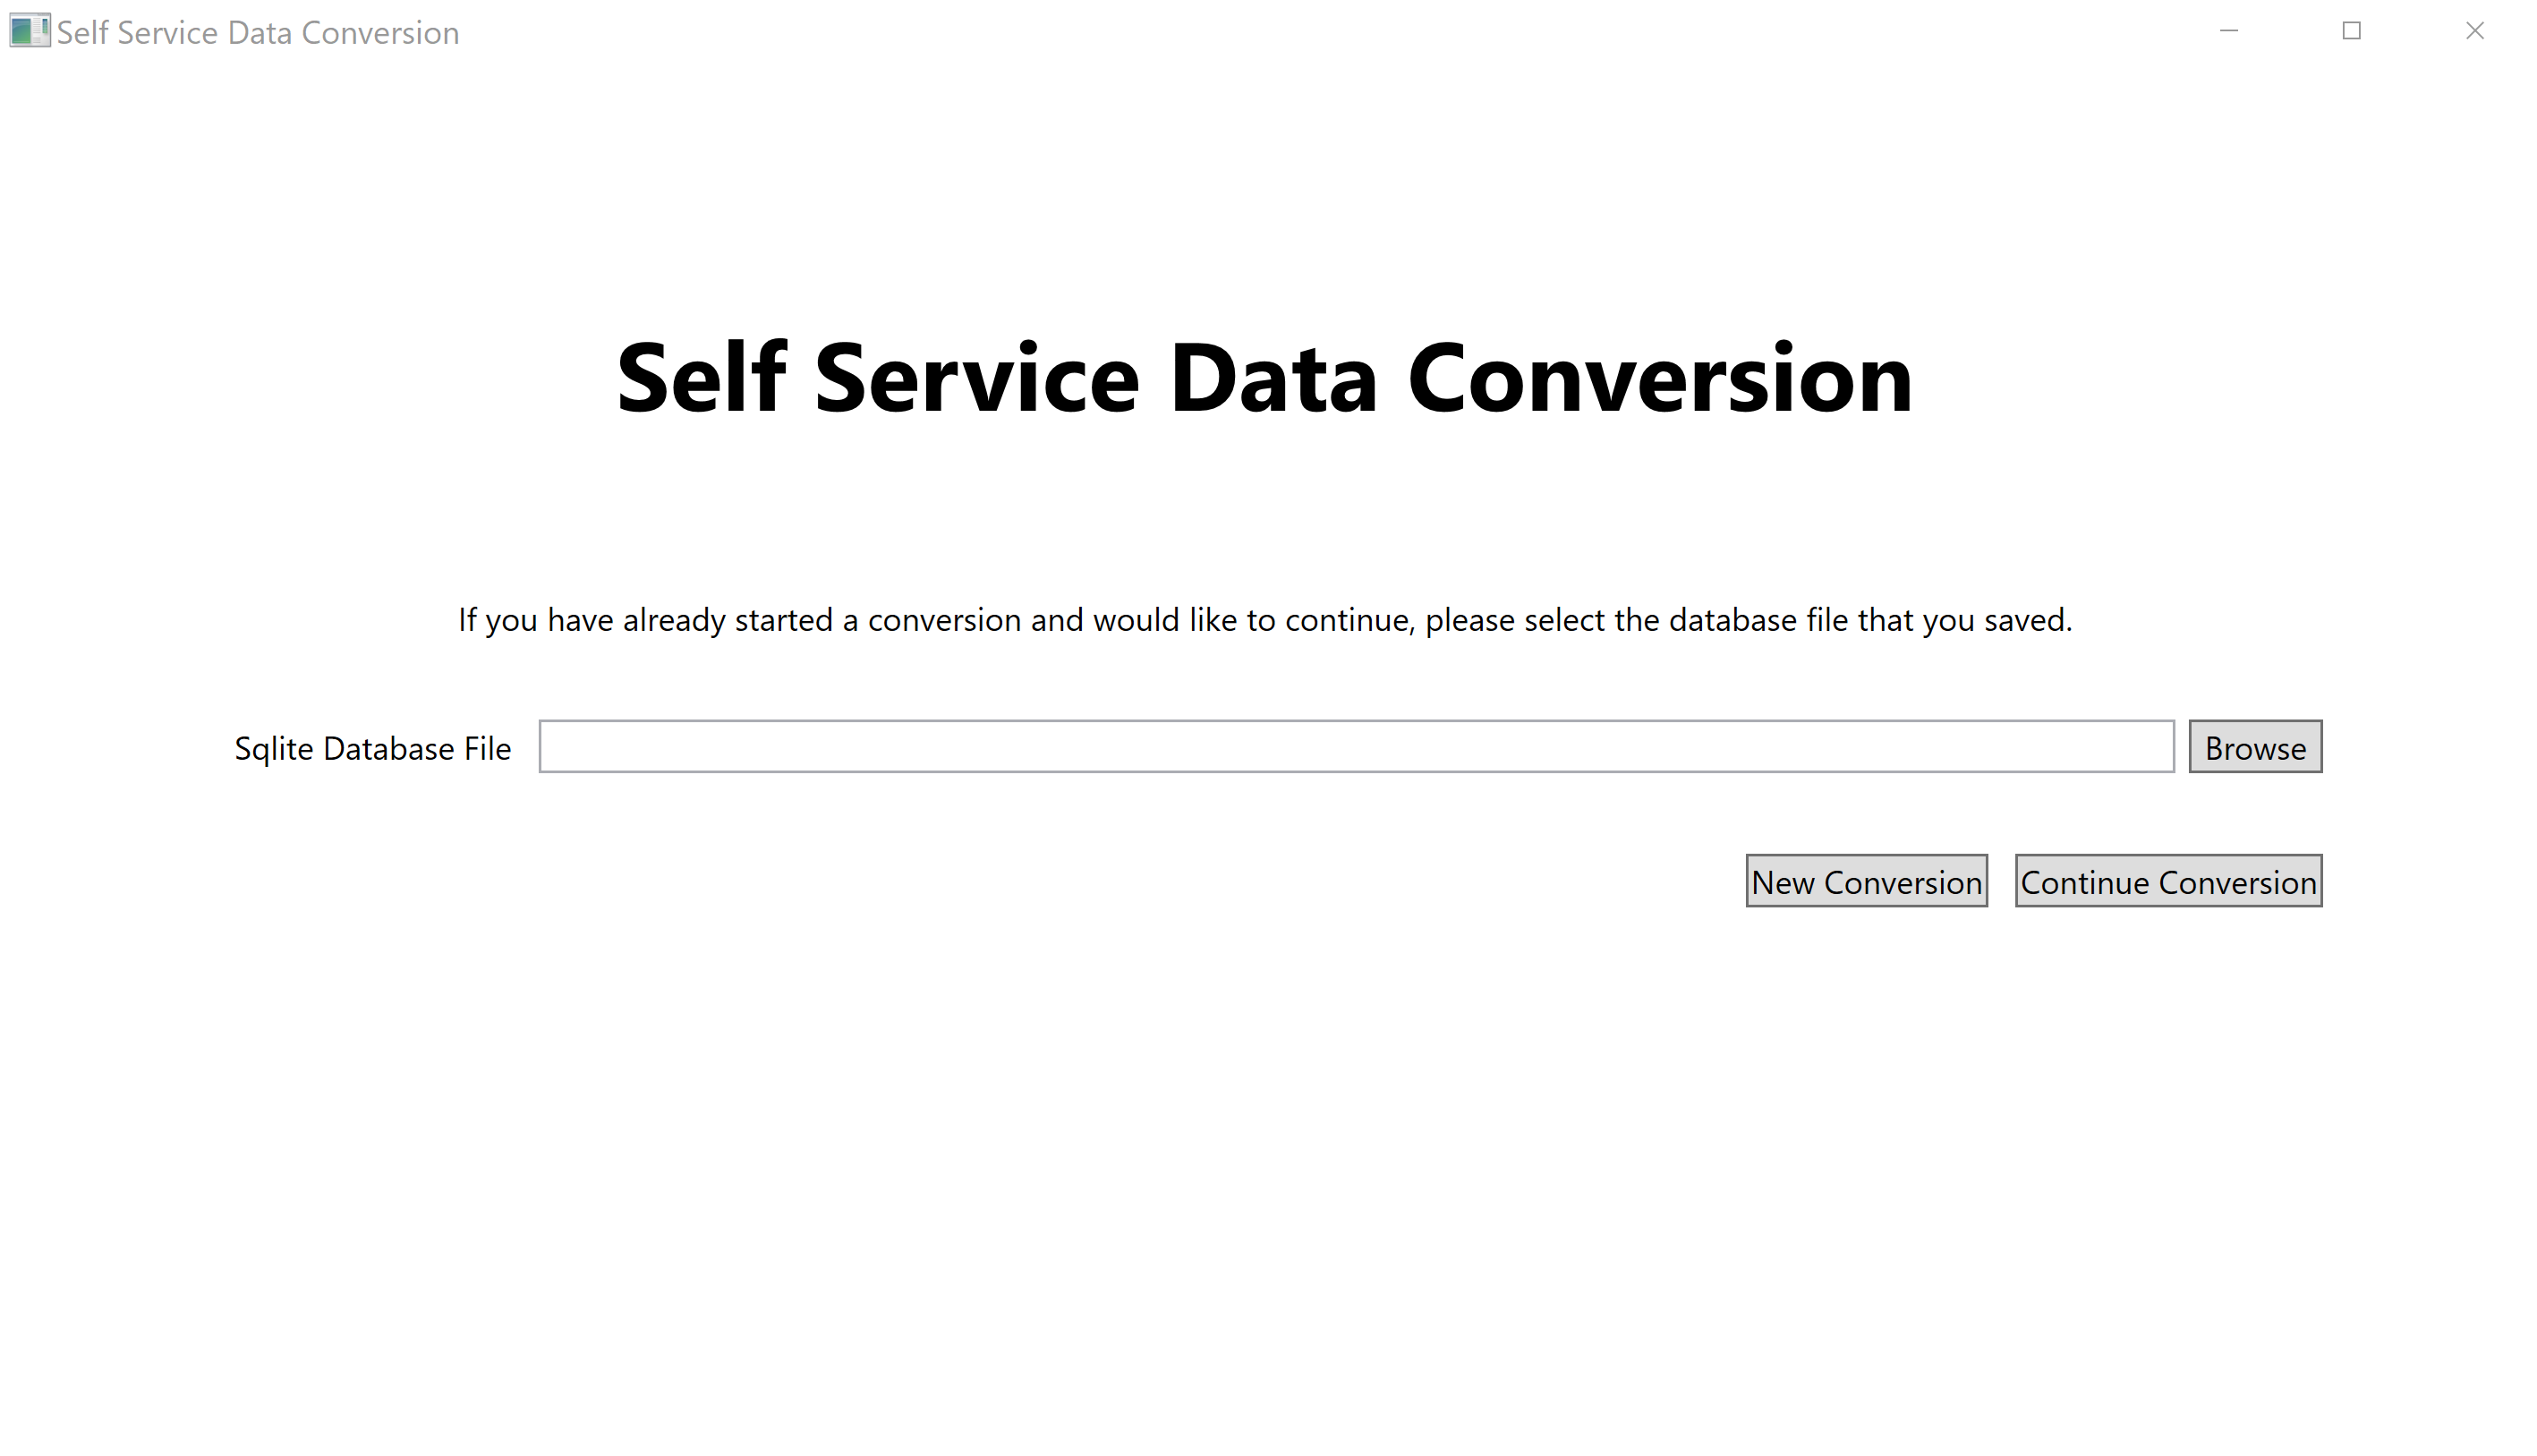
Click New Conversion to start a new conversion or Continue Conversion to resume a conversion from a previously saved state.
If you want to resume a conversion, select the database file from the previous conversion. Once selected, the conversion resumes from the last saved state.
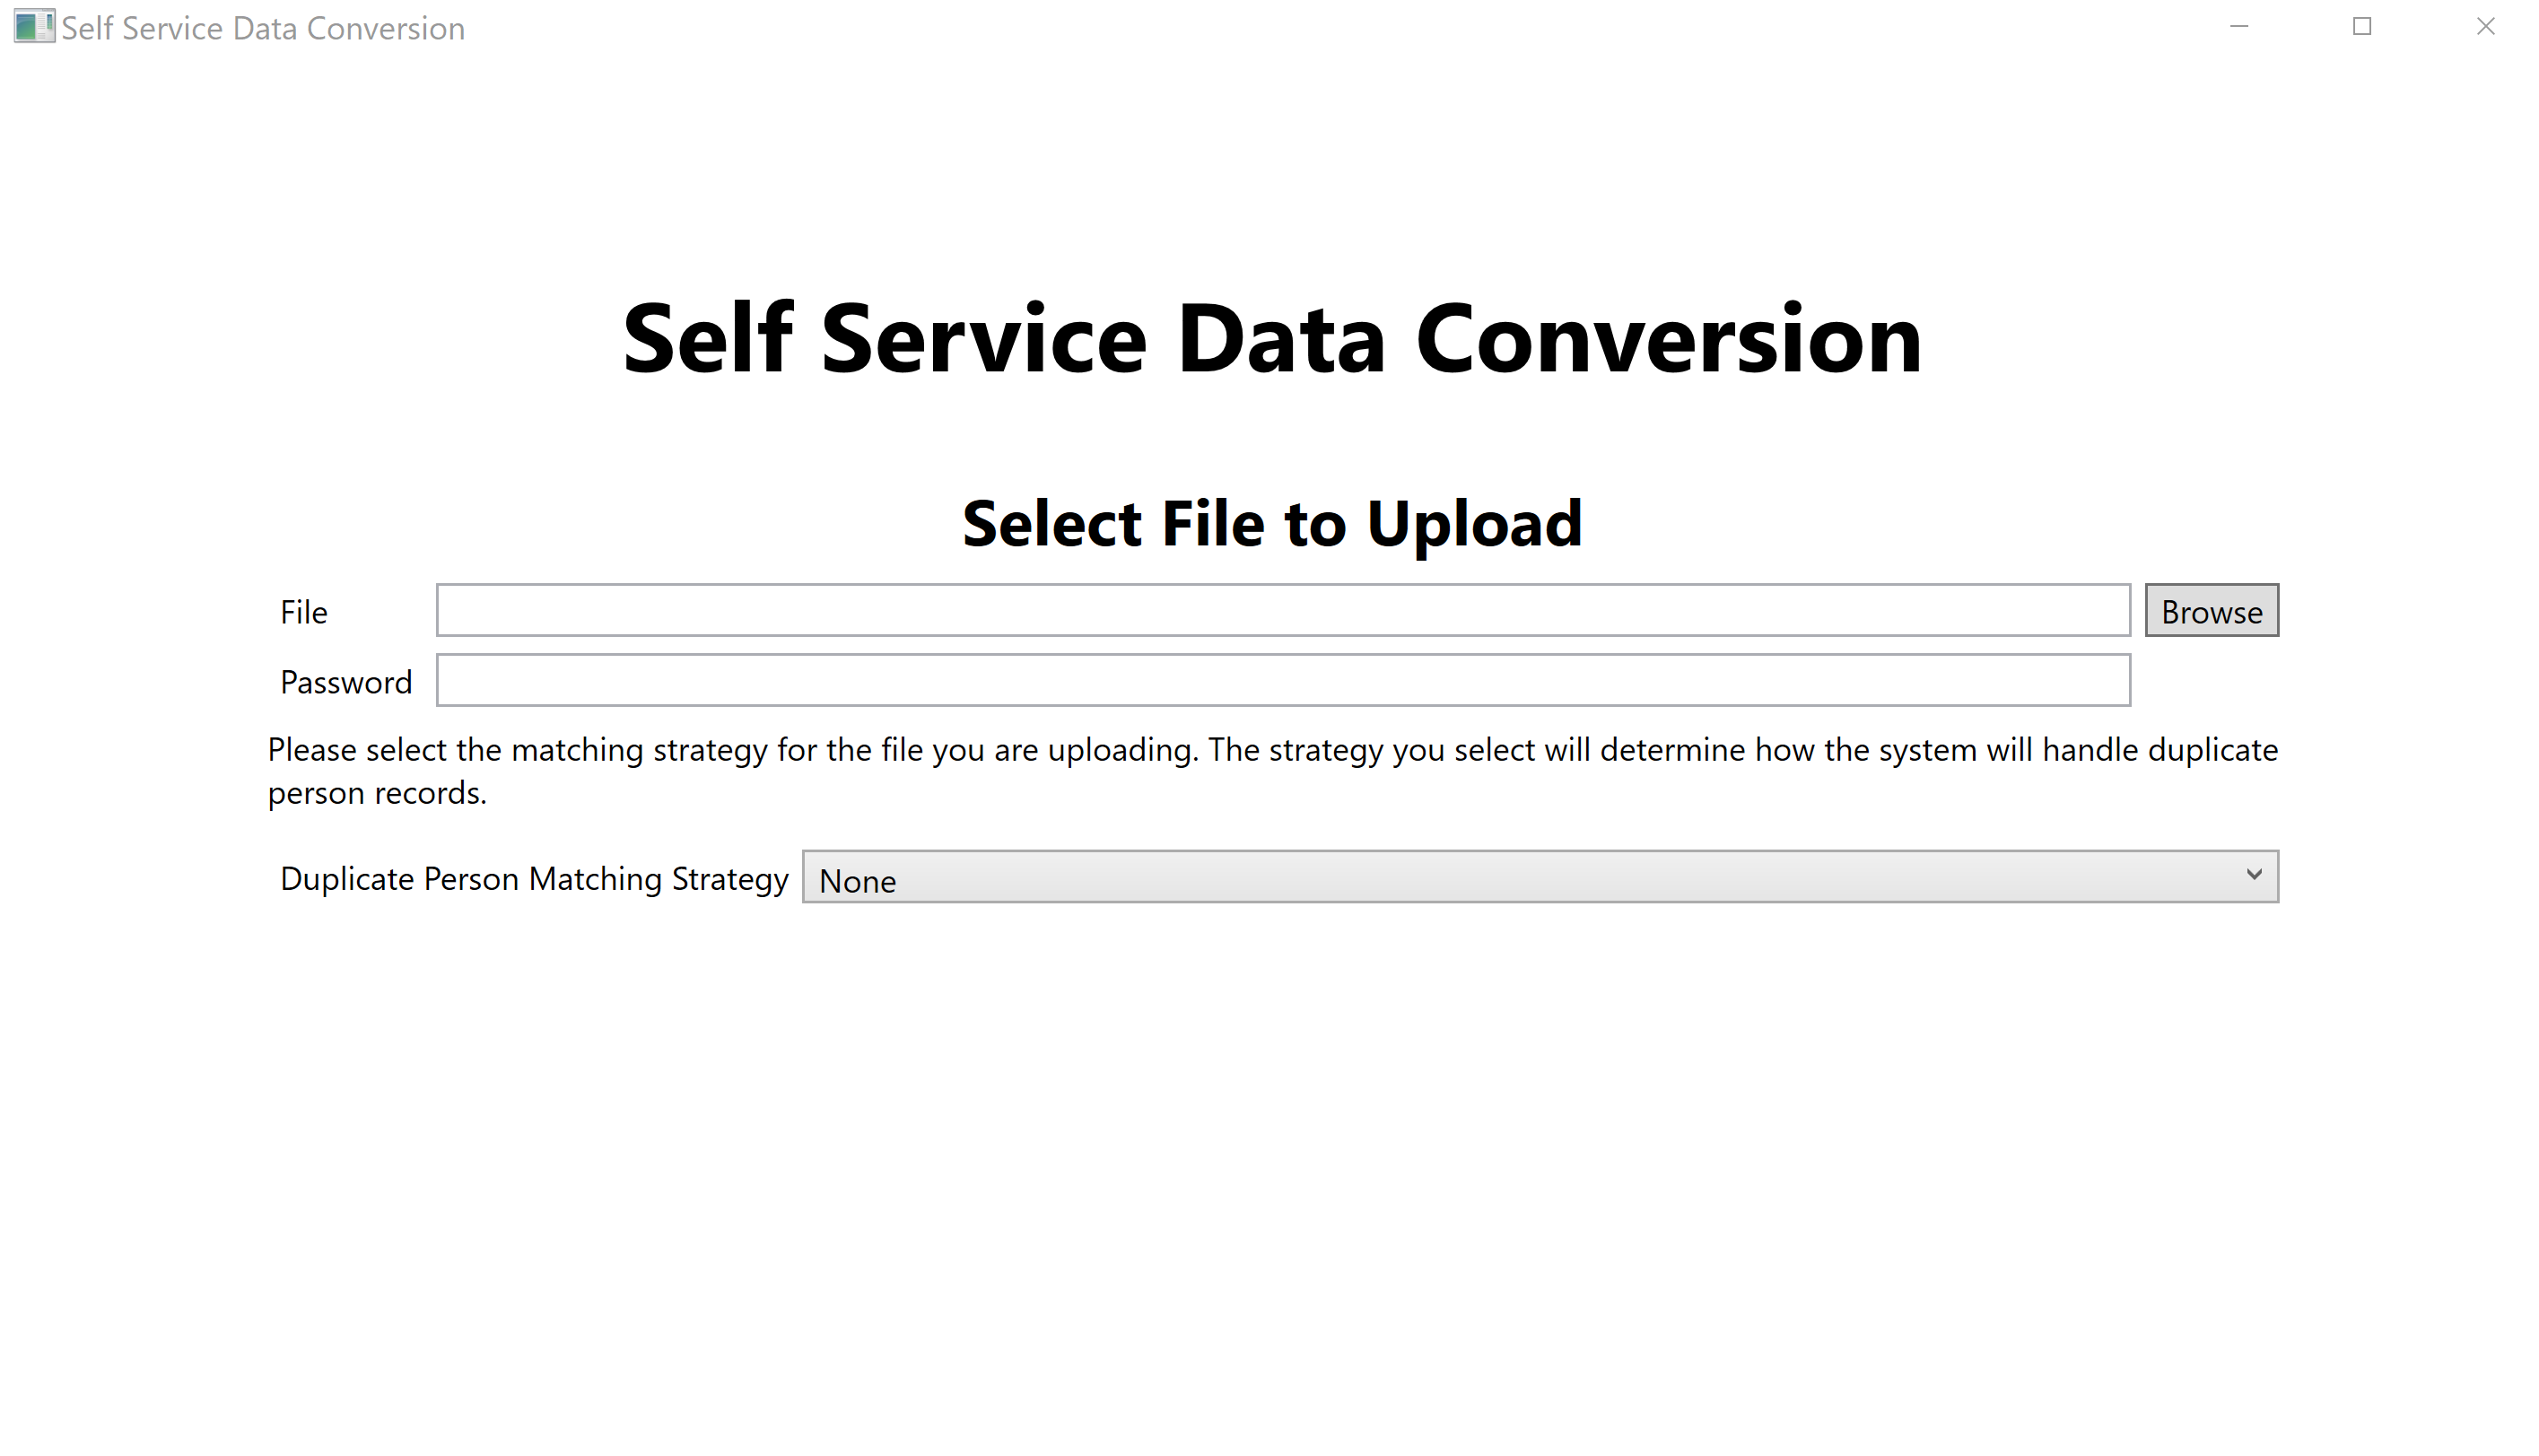
Click Browse to select the Excel file with your case data.
If your file uses a password, enter it in the
Passwordfield. -
In the
Duplicatedropdown, select the appropriate matching strategy.The Self Service Data Conversion tool provides several matching strategies to handle duplicate
Personfields:-
None: Do not try to match duplicatePersonsand treat them each as a uniquePerson. -
Identification: Match duplicatePersonsonly if they have matching identification records (such as driver’s license, SSN). -
FirstMiddleLast: Match duplicatePersonsonly if they have matching first, middle, and last names.
-
-
Click Next.

-
Enter the connection information for your eProsecutor Online instance:
-
URL: The URL of your eProsecutor Online instance (includinghttps://). -
Username: The username you use to log in. -
Password: The password you use to log in.
-
-
Click Next.
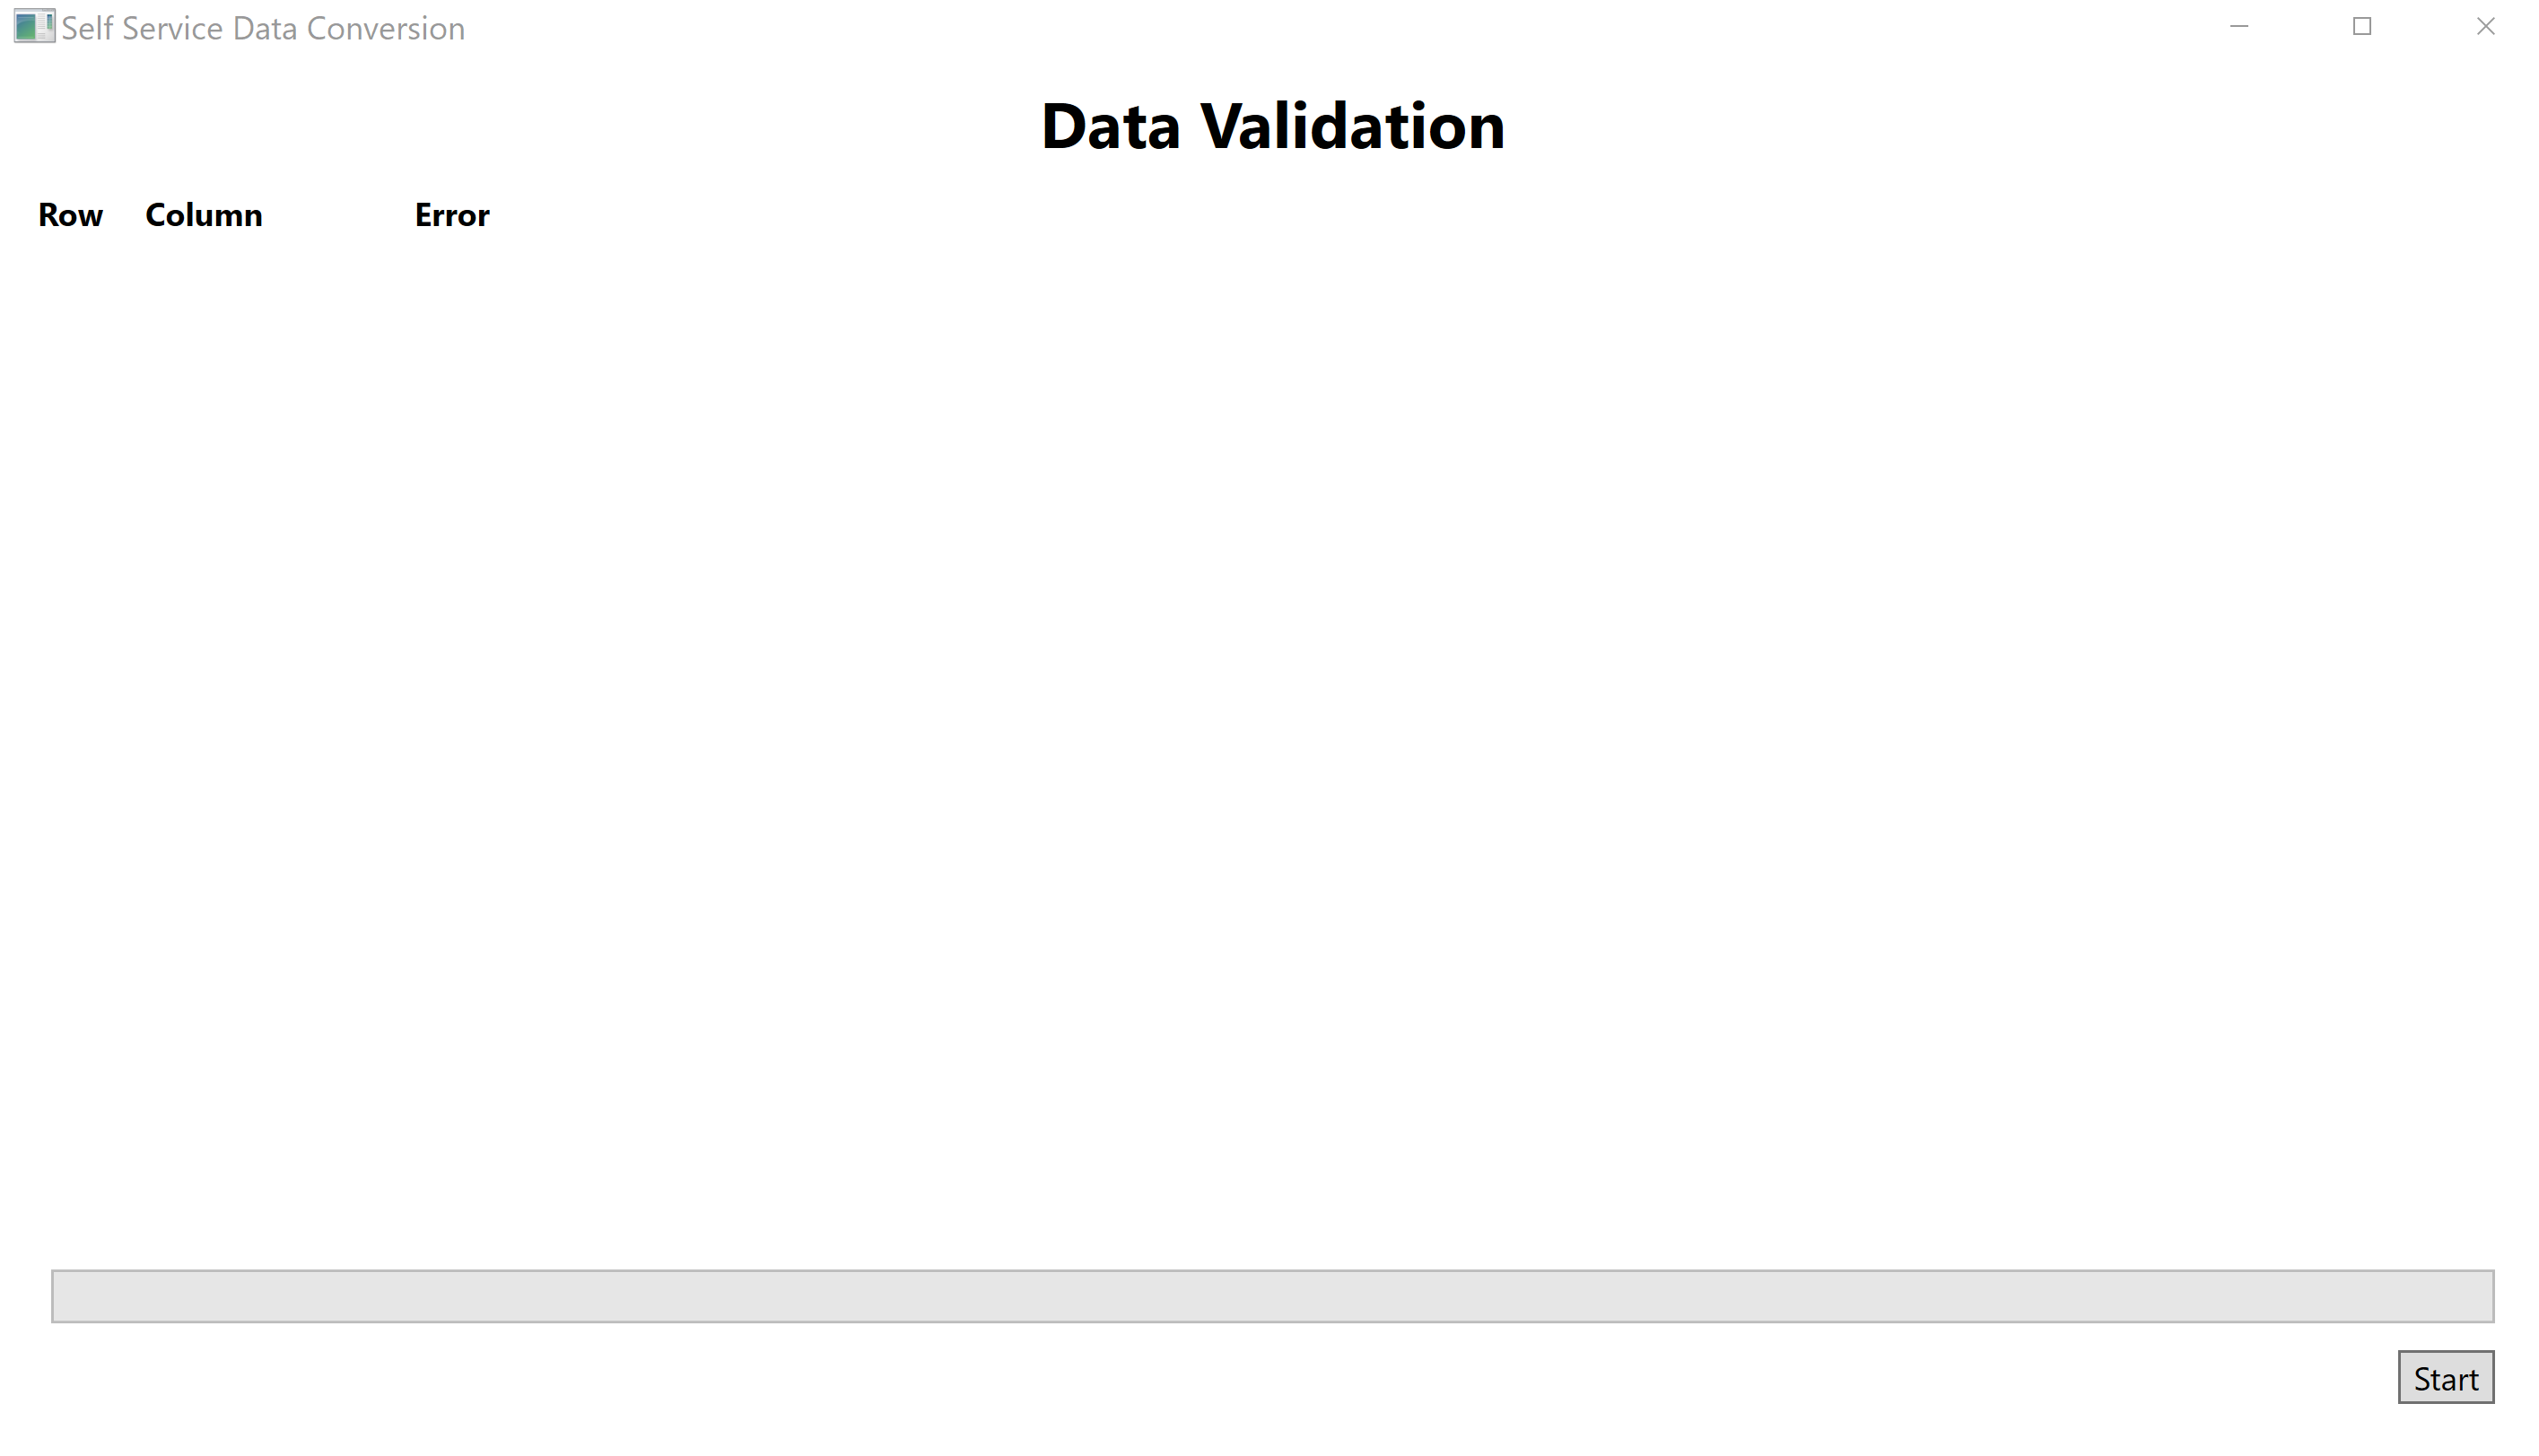
On the data validation screen, the uploaded data is checked for errors and validated against existing data from eProsecutor Online to check for conflicts with statutes,
DirPersons, or other data that may cause unique key collisions. Data that fails validation is shown in the table with an error message.During the data validation process, the tool does not allow you to pause or cancel. You must wait for validation to complete. -
Click Next.
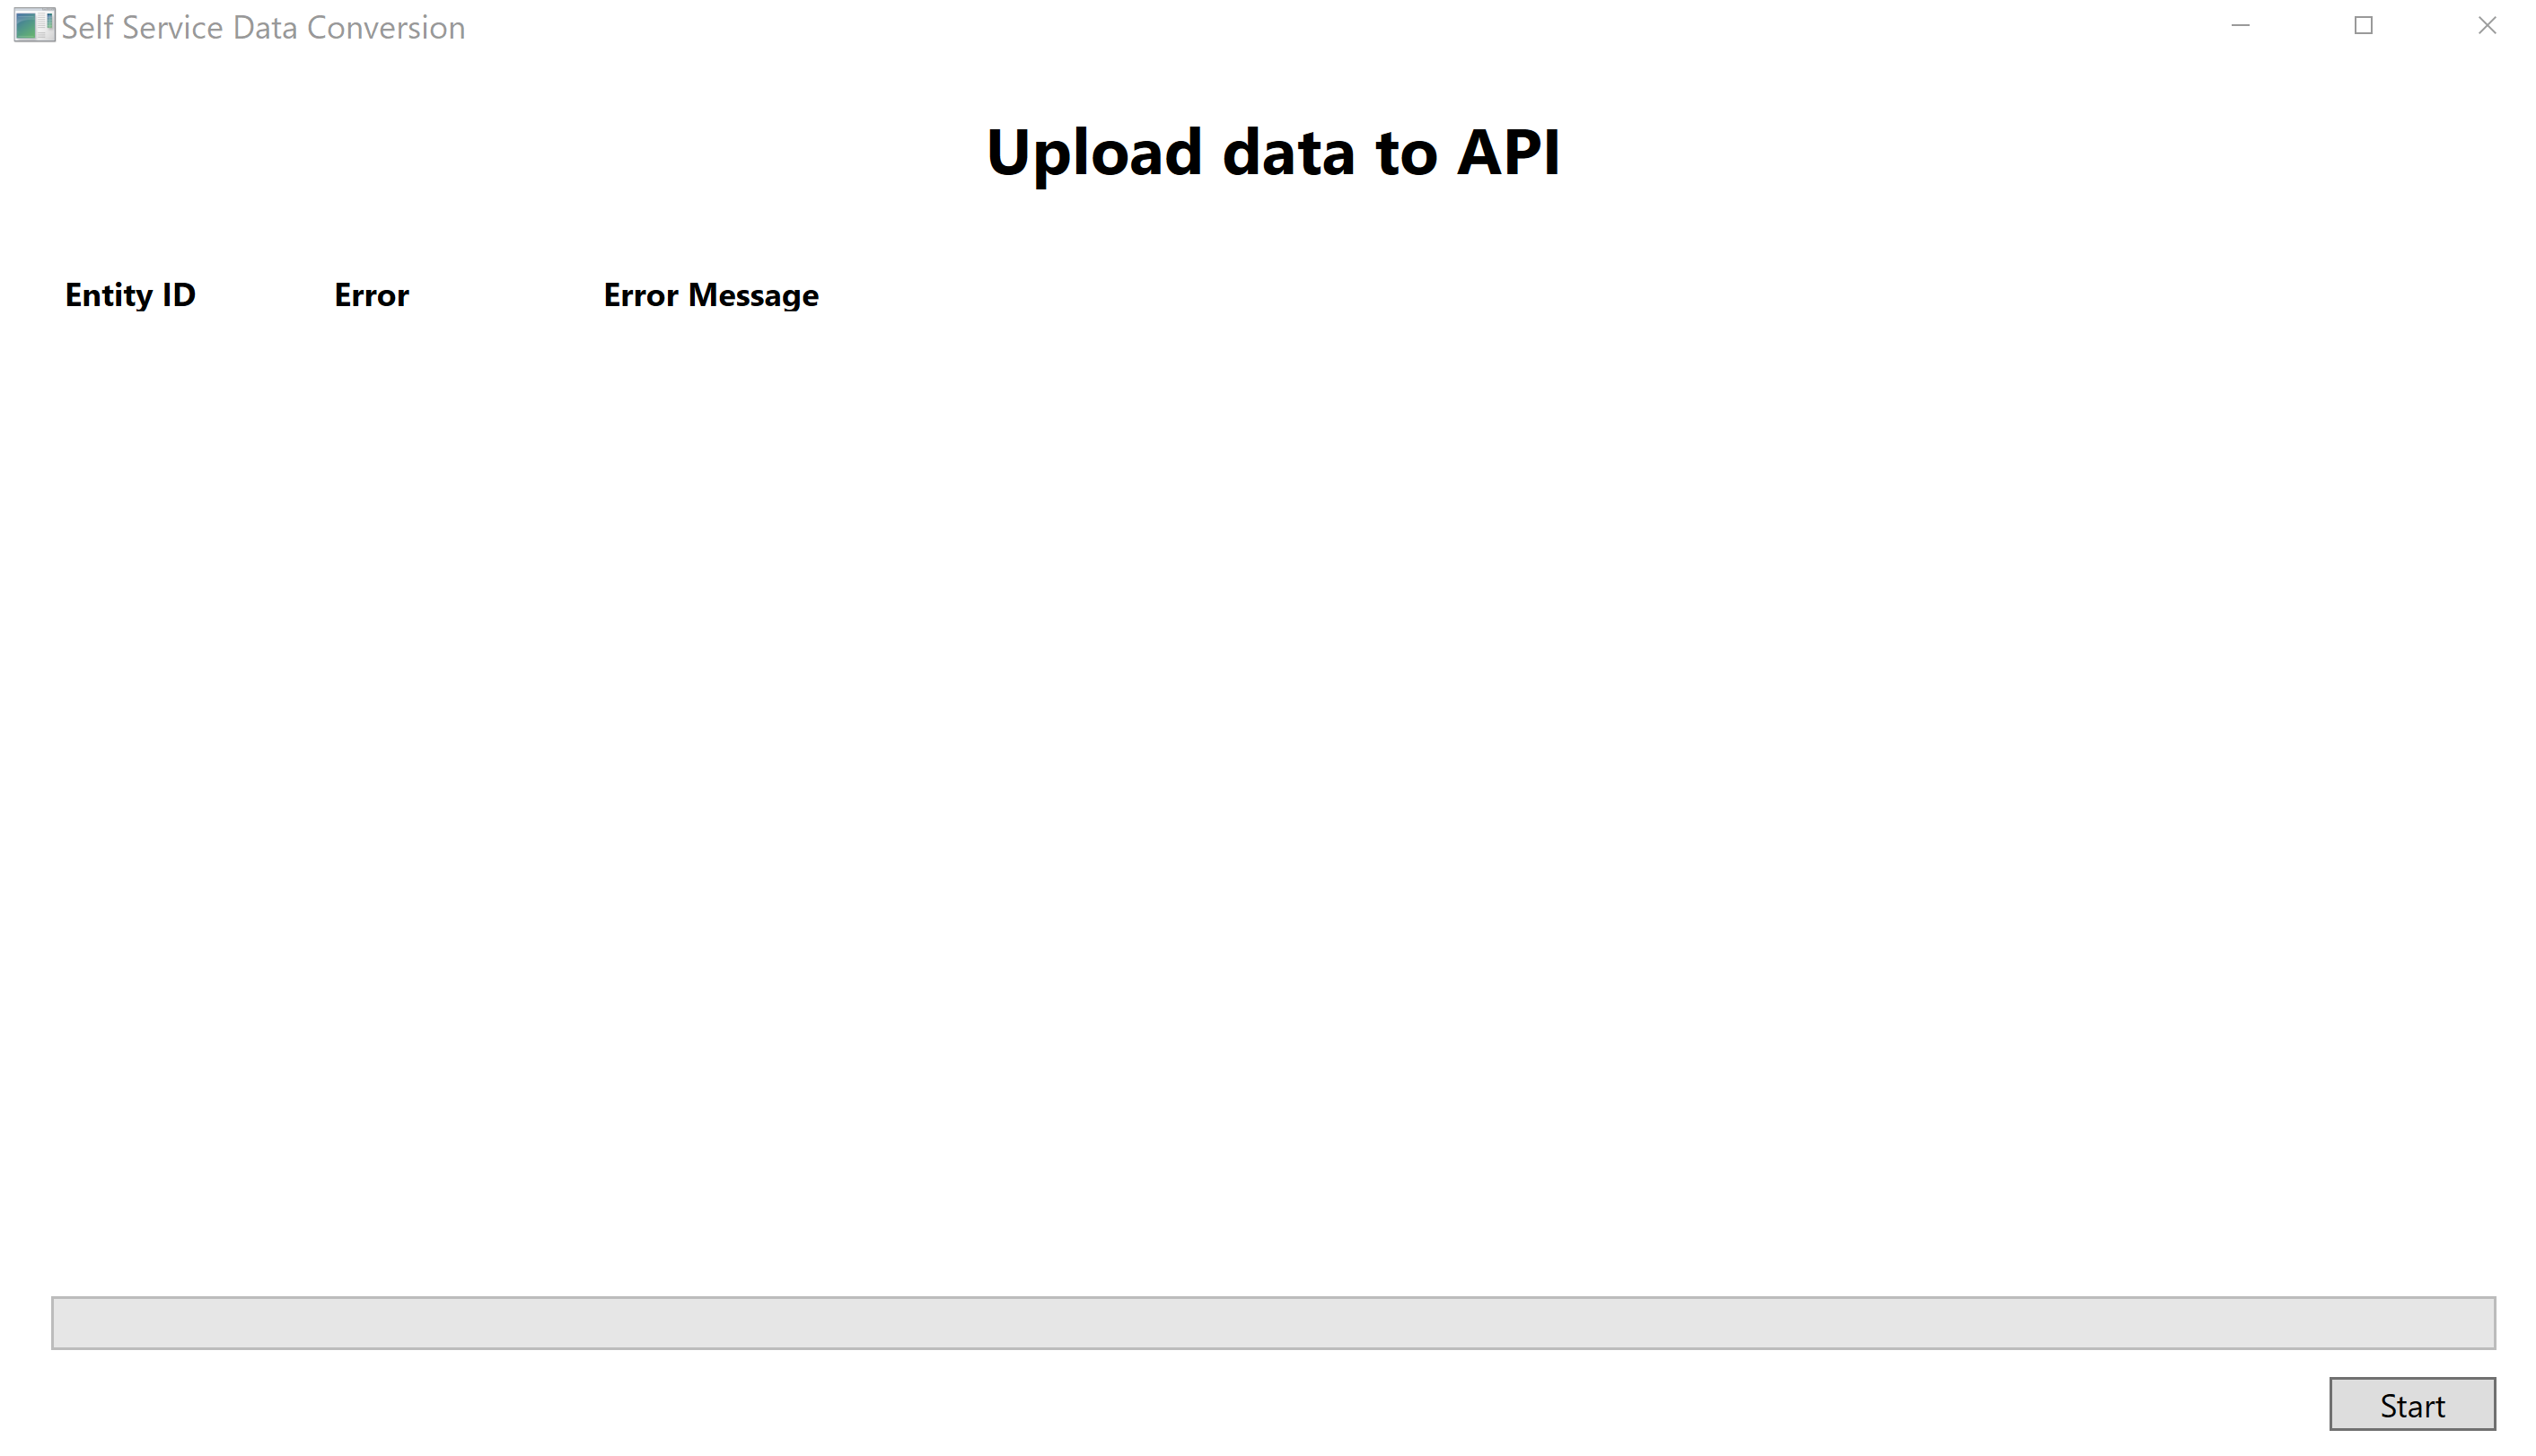
The data upload screen shows the data upload progress. This process may take some time depending on the size of your data import. If the process interrupts workflow, you can pause, cancel, and resume the upload later. When canceling, the tool allows you save the current state of the data upload or to discard the data. When the data is saved, you can relaunch the tool and continue the conversion from the start screen.
During the upload to eProsecutor Online, errors that occur are reported to show what data is not submitted.
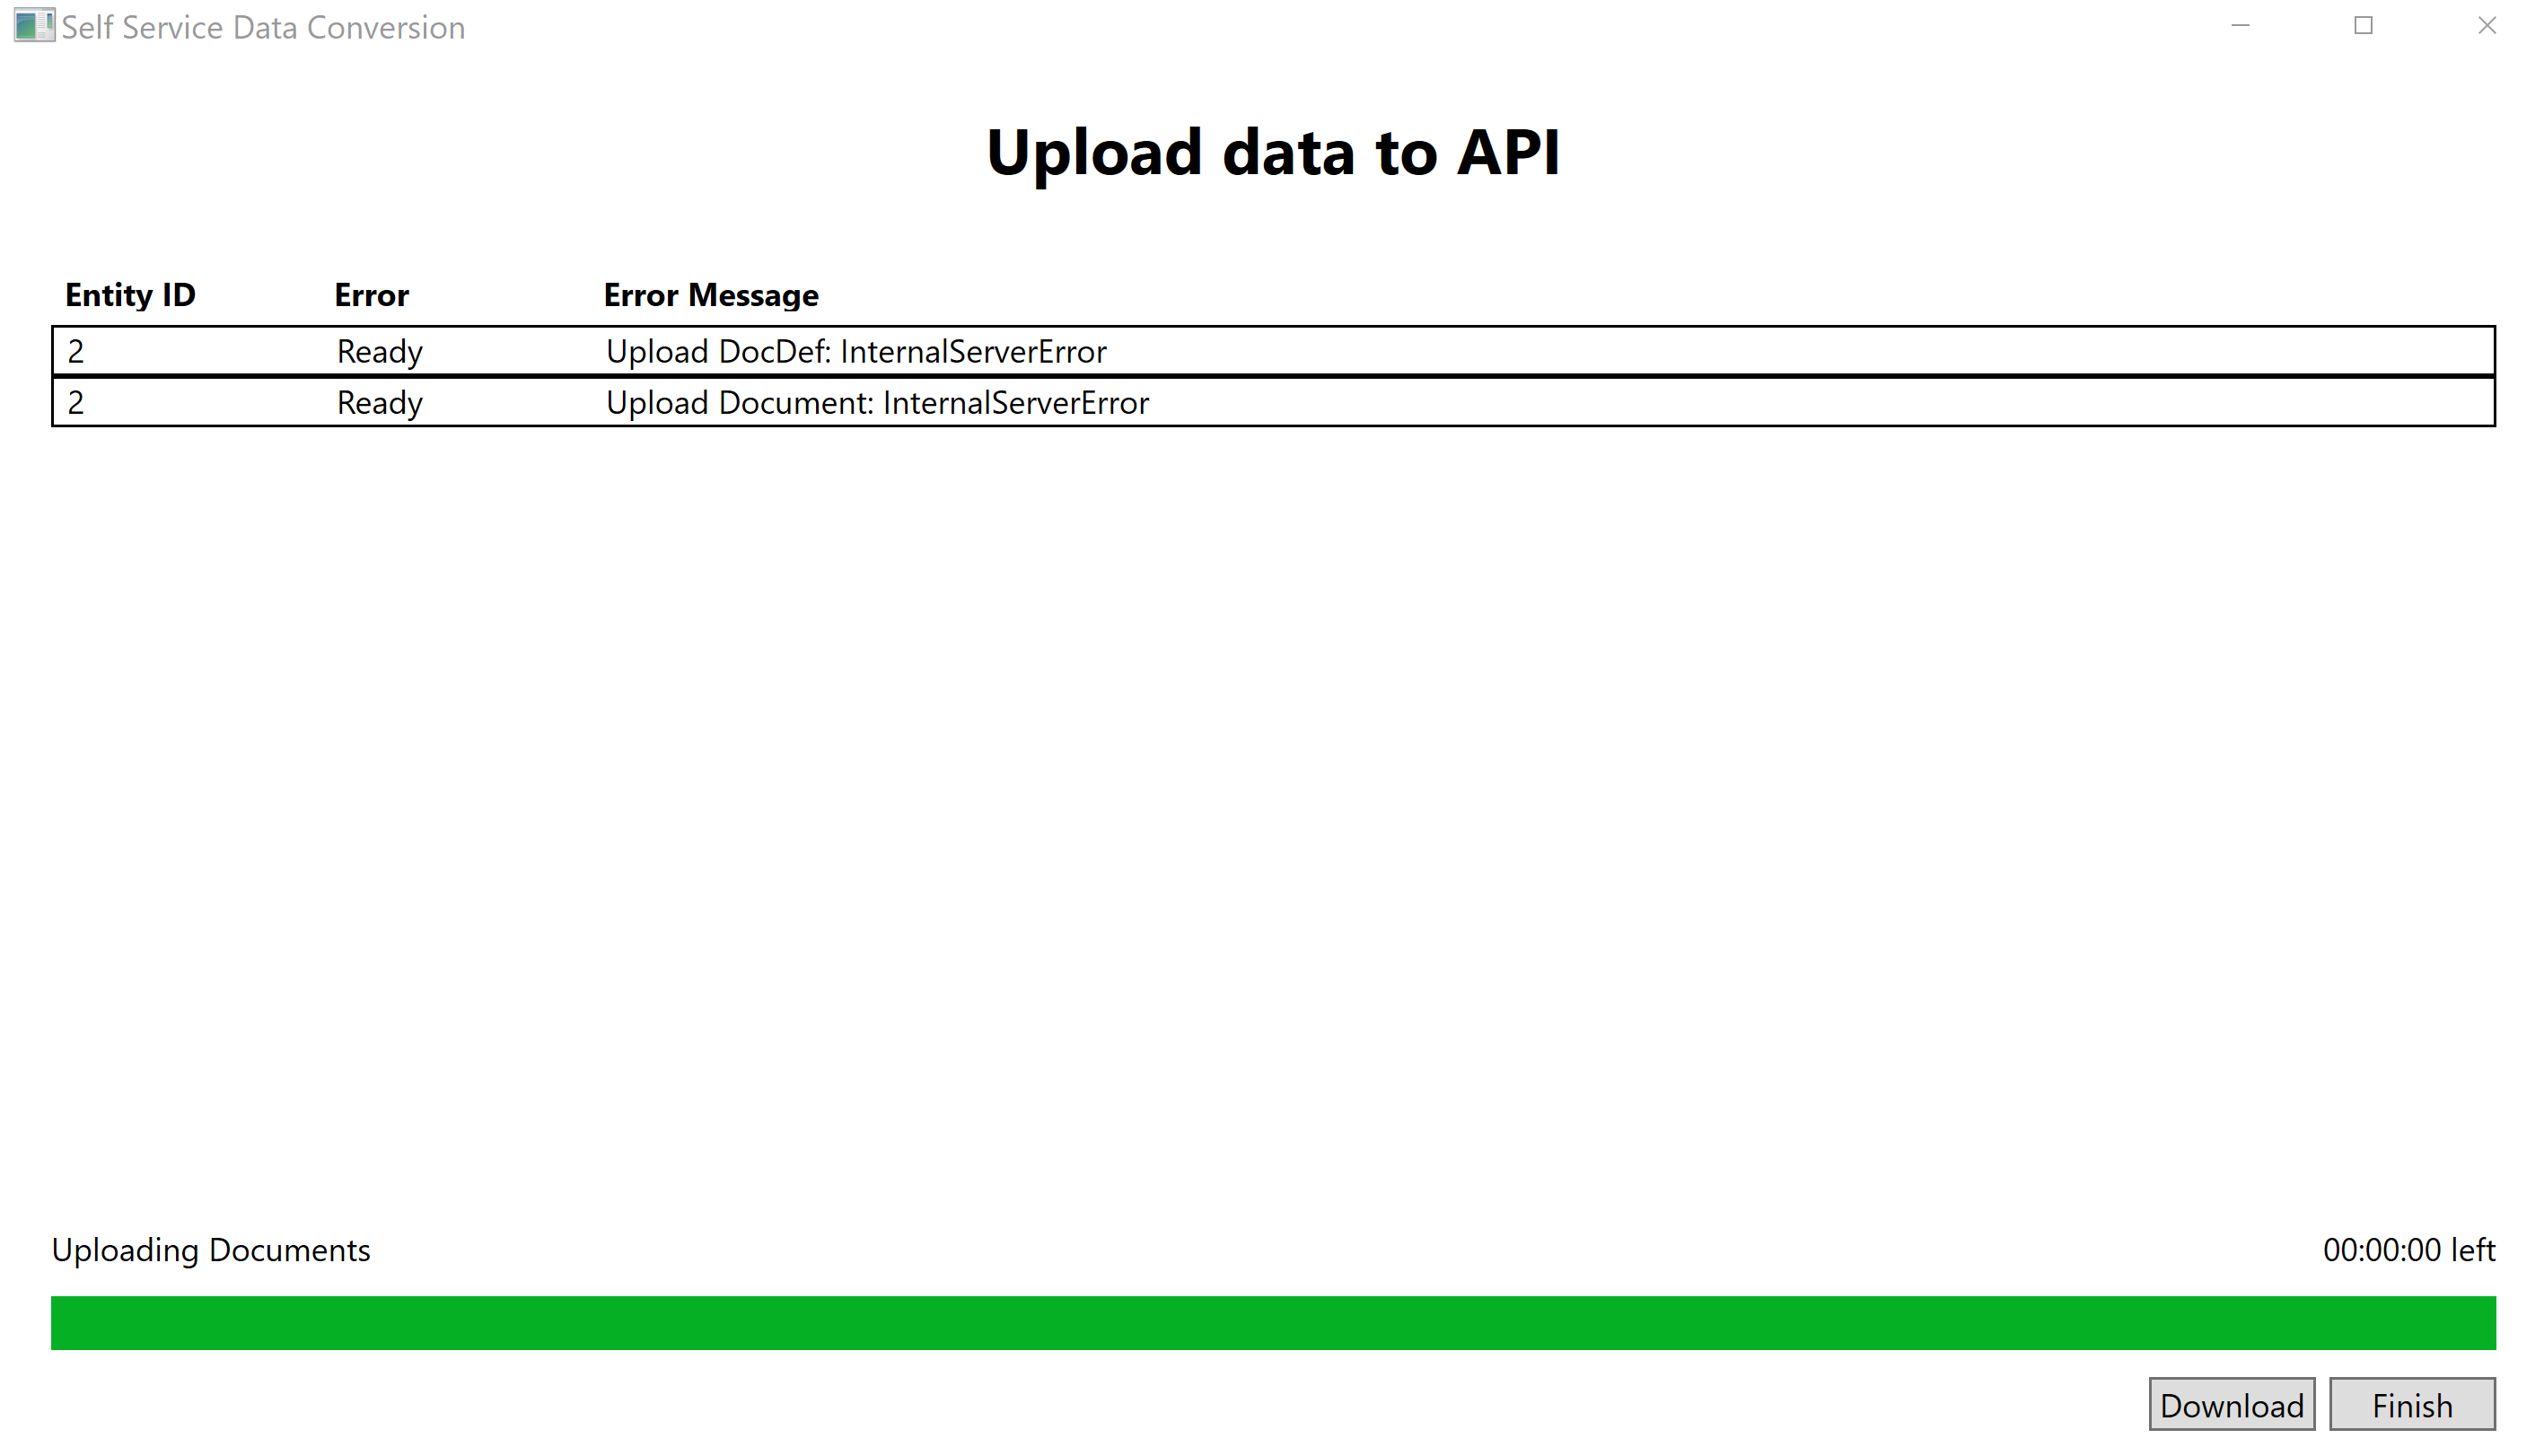
Once all upload attempts complete, you can download an Excel spreadsheet of errors that occurred by clicking Download. Analyze the spreadsheet, fox the issues, and run the download again.
Once all data is uploaded, click Finish to complete the conversion process and close the app.
-
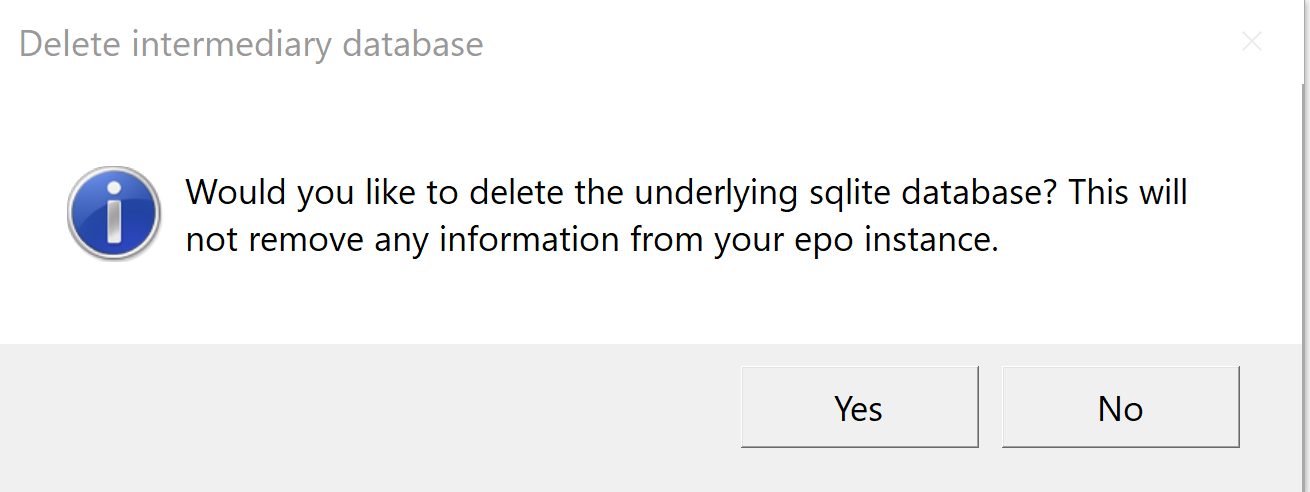
After you click Finish, a dialog shows to ask if you want to delete the SQLite database used to upload data to eProsecutor Online.
Click Yes to delete the database or No to keep the database.