Payment plans
Payment plans allow the payor to make small payments towards the obligations over an extended period of time.
Accessing a payment plan
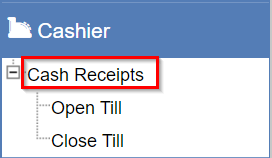
To add a payment plan, you must have an open till and use the Cash Receipts.
Only Financial users can navigate to the Cash Receipts screen.
For more information about setting up a user as a Financial User, refer to User navigation.
|
There are two ways to show this screen:
-
Navigate to .
-
Access it using the current case. Click the
Financialsdropdown, then selectCash Receipts.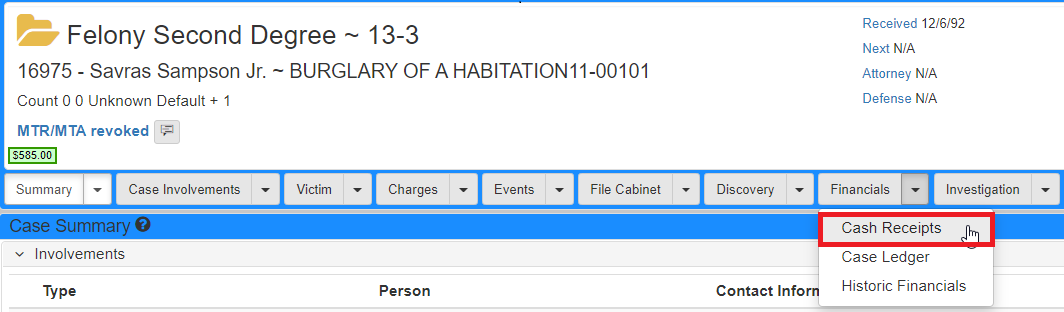
If accessed using the Left navigation, the Case is not populated on the Cash Receipts screen.
You need to search for the case you would like to work with.
Refer to Cash receipts for more information on searching.
If accessed using the current case, the Case row is populated in the Cash Receipts screen.
|
Adding a payment plan
On the Cash Receipts screen, if you have an unpaid obligations Case row available:
Click the vertical ellipses (three dots) to open the context menu, then select Pay Plan:
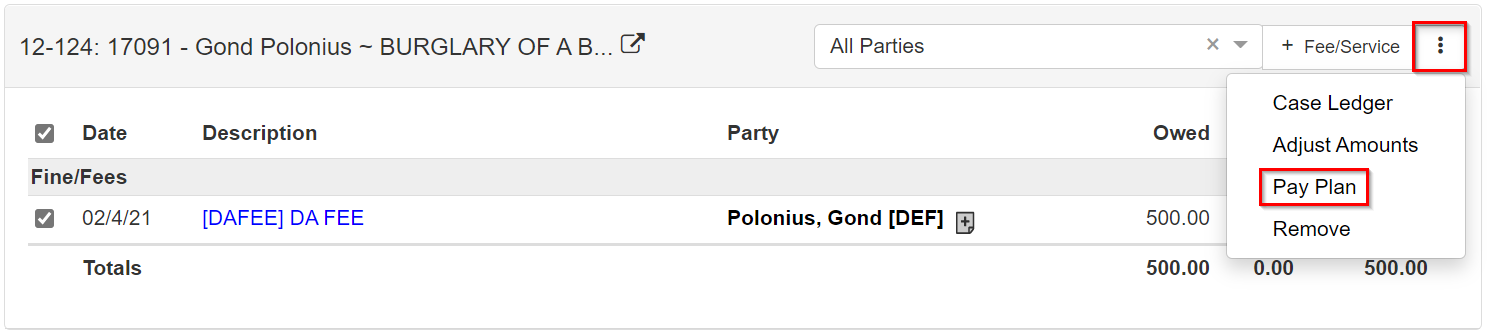
The Add Pay Plan form shows:
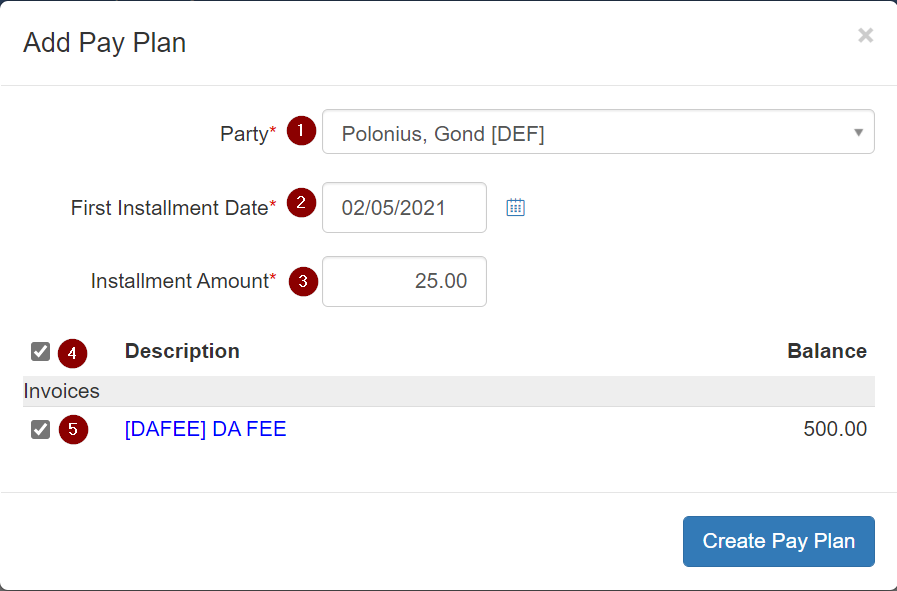
-
Use the
Partydropdown to select the paying party. -
Set the payment plan
First Installment Date. -
Set the recurring
Installment Amount. -
Select all obligations.
-
Select a single obligation.
Click Create Pay Plan, then click Ok in the confirmation dialog.
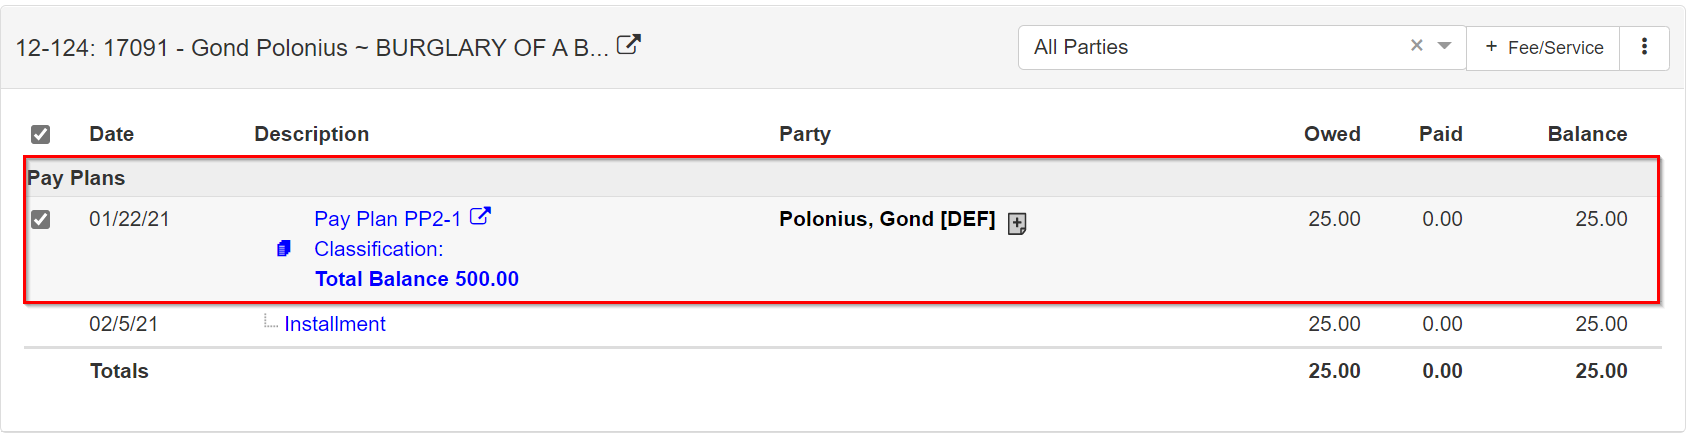
The Payment Plan shows under the Case row on the Cash Receipts screen.