Bail
Do not forget to Open a Till if you have not already today.
|
Create a cash bail record
Cash bail is created in the Case by clicking the Case Involvements dropdown, then selecting Add Bail.
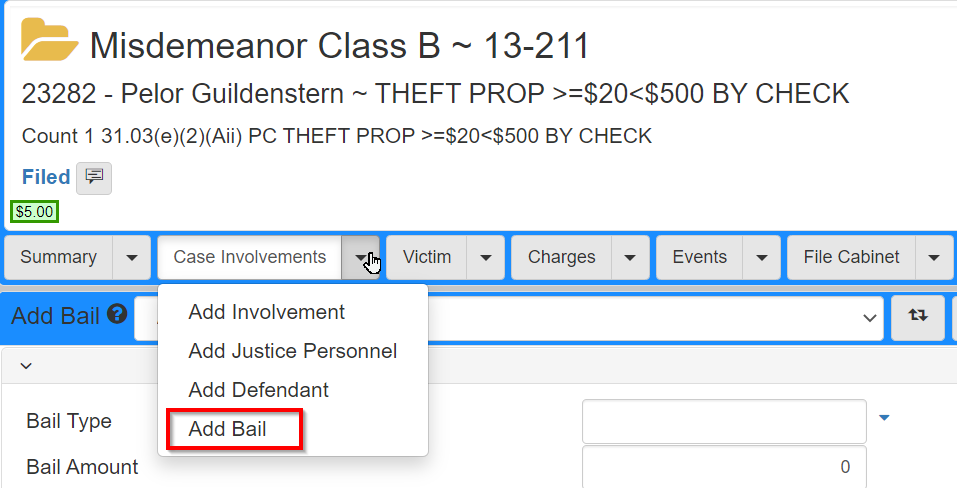
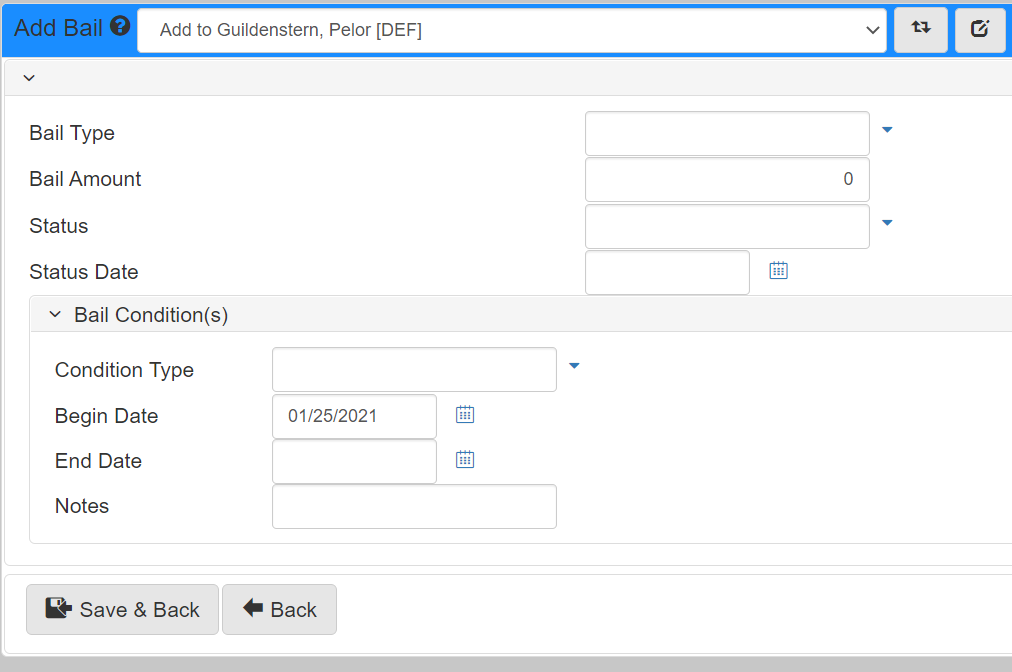
In the Add Bail screen, fill in the Bail and Bail Condition(s) panels.
| Field | Description |
|---|---|
|
Select between |
|
Input the |
|
Set the Bail status to one of: |
|
Defaults to the current date and is read-only. |
|
Set the type of |
|
Set the date when the |
|
Set the date when the |
|
Use to add further detail to the |
Once you have entered the data, click Save & Back.
The set Bail now shows on the bottom of the Case Involvement screen.

Post cash bail
Posting a Cash bail makes the Bail record become a collectable financial and show on the Case Ledger.
To make this happen, the Bail Status needs to be set to Posted.
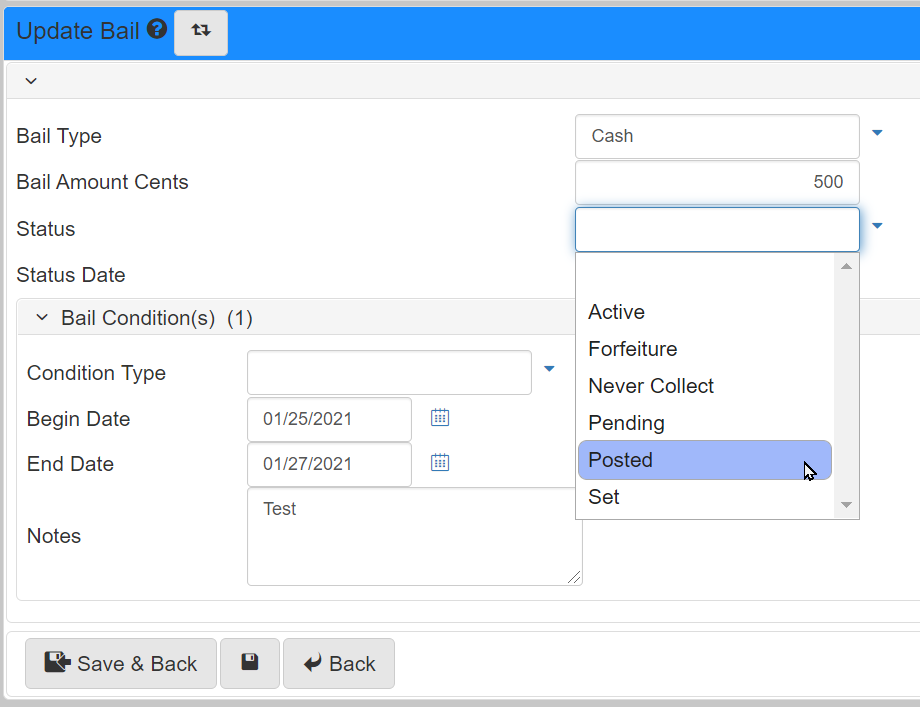
To update the Bail Status, click the Cash link in the Type column of the Bail panel at the bottom of the Case Involvement screen.

In the Update Bail screen, select Posted in the Bail Status dropdown.
Click Save & Back.
The updated status shows on the Case Involvement screen.
The Bail also shows on the Case Ledger.
The Bail can now be paid into eAttorney.

Navigate to Cash Receipts and pull up the case you are taking the payment on.
It is easier to do this from the dropdown of the Financial tab from the Case Record as it loads Cash Receipts with the case pulled up.
Select the Bail item under the Bails panel.
In the Payment Methods panel, enter the Monetary Instrument type used to make the payment and the amount tendered.
Select the Payor if they are involved on the case, when the defendant makes the payment.
Otherwise, choose the Other option in the Payor dropdown and fill in the information for the person making the payment.
Click Submit.
After taking the payment, the Cash Receipts screen refreshes and shows an indicator that there is a Bail Deposit on the case.
Also, a Cash Receipt popup window shows giving you the payment information.
In the following example, part of the Bail is paid.

The Case Ledger also shows the reflected Bail payment, which also shows in the case header.
Forfeiting cash bail
Forfeiting a Cash Bail creates a receivable from the Cash Bail and starts with updating the Bail Status.
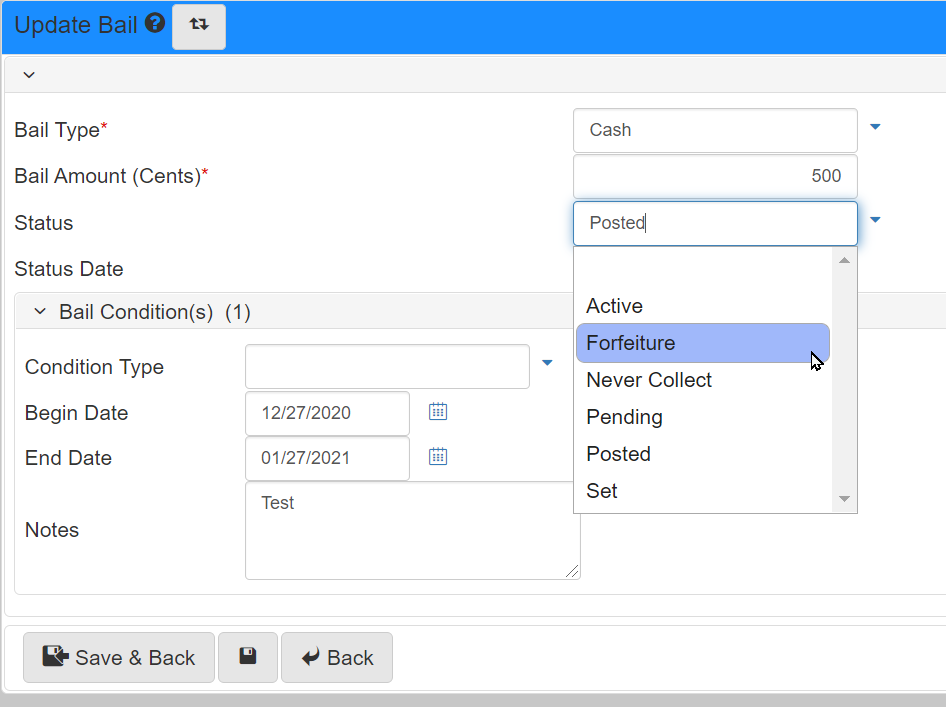
To update the Bail Status, click the link in the Type column of the Bail panel at the bottom of the Case Involvement screen:
In the Update Bail screen, select Forfeiture in the Bail Status dropdown.
Click Save & Back.
Navigate to Cash Receipts and pull up the case you are taking the payment on.
It is easier to do this from the dropdown of the Financial tab from the Case Record as it loads Cash Receipts with the case pulled up.
Now, create a Transfer from the paid Bail to the Bail Fee, created when Forfeiture status is set.
See Creating a transfer.
Rule Forfeit Cash Bail is executed on the status update and creates the Other Costs invoice.
Bail bond/surety
Creating bail bond/surety
Bail Bond/Surety is created in the case by clicking the Case Involvements dropdown, then selecting Add Bail.
In the Add Bail screen, select Surety/Cash Bond in the Bail Type dropdown.
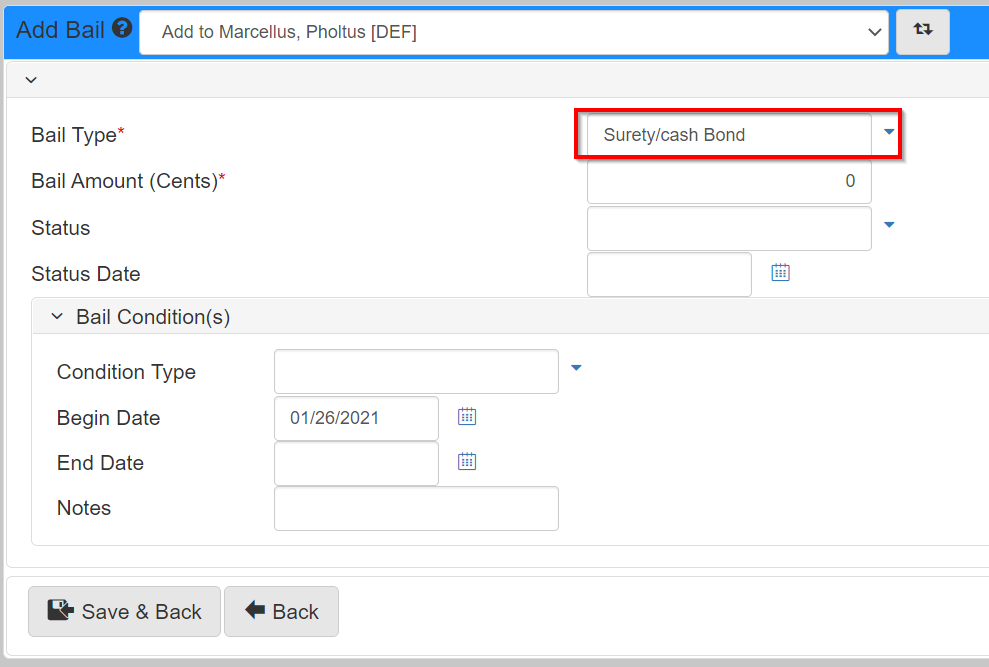
Once you have entered the data, click Save & Back.
The set Bail shows on the bottom of the Case Involvement screen.