News gadget configuration
The News Gadget shows a message from administrators on users dashboards.
To learn how users can add the gadget to their dashboards, see News gadget.
How to change the news gadget content
-
Go to .
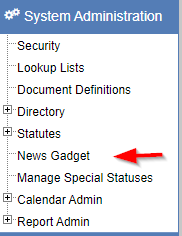
-
This opens the "Search Static Resources" form. Click the "Add New Resource" button.

-
Give the resource a title, and enter
SYSMSGas the code. Leave the type asHTML.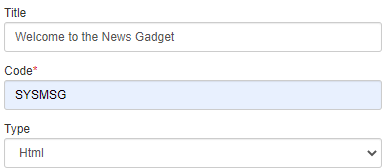
-
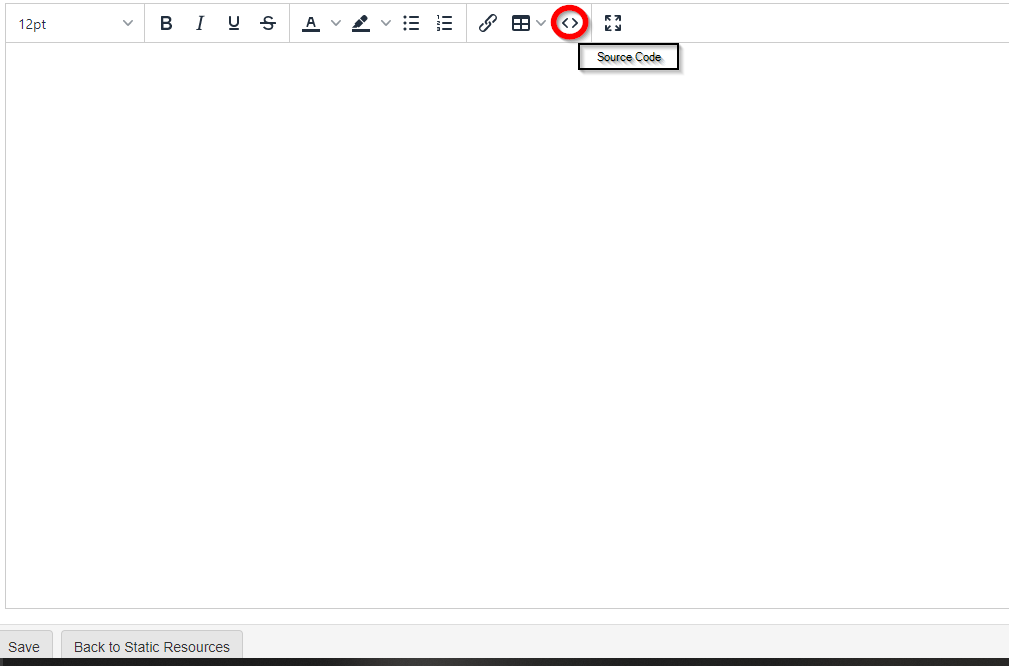
In the text box, enter the message you want to display on users dashboard news gadget. This is a WYSIWYG (What You See Is What You Get) editor, with a tool bar that allows for formatting items, inserting tables or links. You can also click Source Code, circled in red, to edit the HTML directly. This needs to be done if adding an image. See Add images to news gadget.
-
Click Save at the bottom to save the changes.
Add images as a static resource
-
Go to .

-
This opens the
Search Static Resourcesform. Click Add New Resource.
-
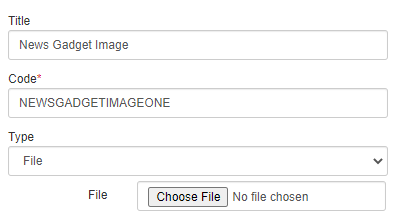
Fill in the upper part of the form:
-
Title: Give your image a title.
-
Code: Type a unique code for your image in ALL CAPS and with no spaces.
-
Type: Change to be
File.
-
-
Click Choose File to select the image to select the image.
-
Click Save at the bottom to save the changes.
-
Click Back to Static Resources. The image is now added as a static resource.
Add images to news gadget
-
Go to .

-
This opens the "Search Static Resources" form. Hover over or click the open link icon on the right of the image name to open the image.
Button to click:

Hover over button, showing URL at the bottom:

-
Note the id of the resource. In this example URL
cms/content?dispatch=onViewResource&resource.id=2, the id is 2. -
If a News Gadget needs to be created, add one. See How to change the news gadget content. Otherwise, ensure you are on the "Search Static Resources" form, and click a News Gadget.
-
In the text editor, click Source Code in the tool bar.
-
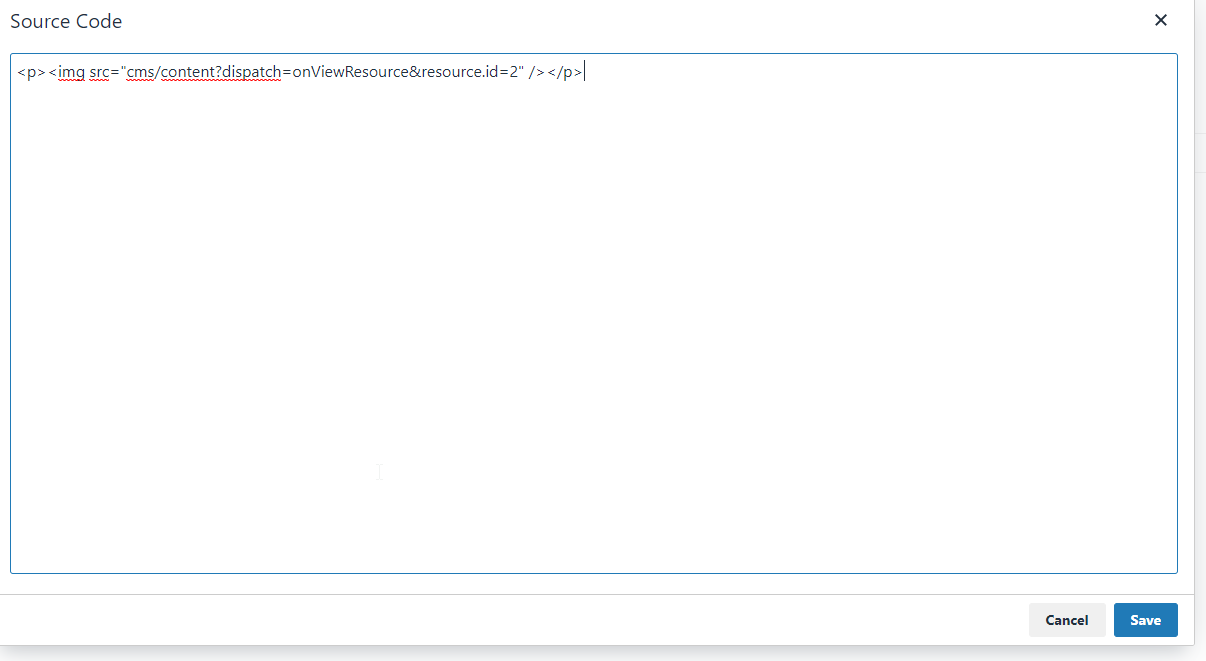
Add the following line where you want the image to show:
<p><img src="cms/content?dispatch=onViewResource&resource.id=2" /></p> -
Replacing the id (value 2 in the example) with the id noted in step 3.
-
Repeat this process for each image you want to add. You can also add other HTML tags to add formatting, such as style, width, height.
-
Click Save to save changes and close the source code editor.
-
Click Save to save the gadget.
